Well I finally decided to start a build/mod thread to consolidate all my stuff in hopefully one thread. It's a 2001 Jeep Grand Cherokee Laredo 4.0 with a 242 TC and 30/35 axles that I bought new with 16 miles on it in Tucson AZ. I have a lot of catching up to do. I'll try and catch it up as quickly as possible.
Been Jeeping since 1975. Have had CJs, a MJ, XJs, WJs and a WK. Even spent two years in Turkey with my MJ wheeling.
Here is a pic of when my current 01 WJ was stock (on the right).
![Image]()
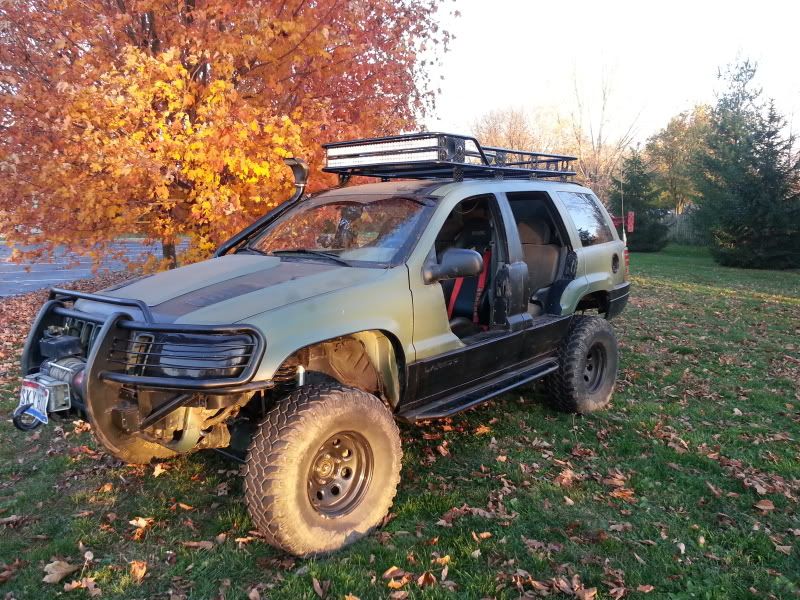
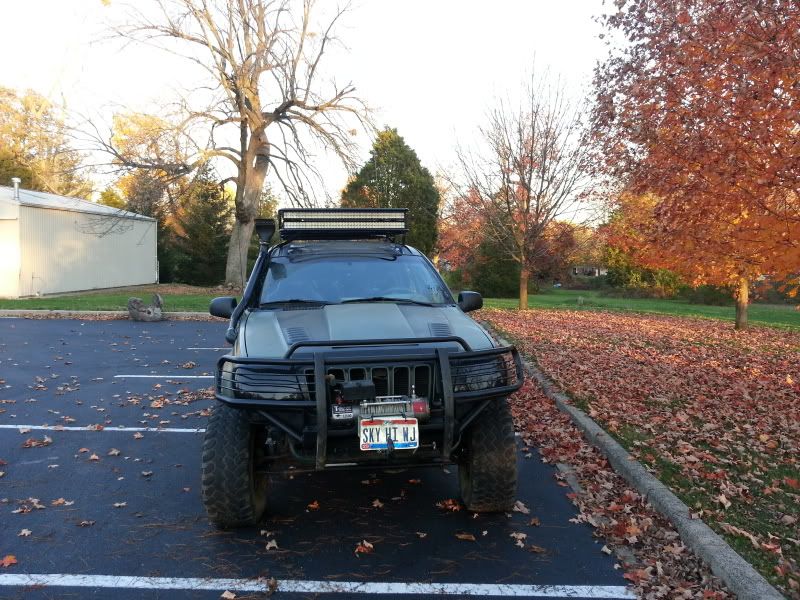
Here it is now.
![Image]()
Some of the mod are hyper-linked to threads or pics until I get everything on here.
All mods either made, done or put on by me except for a custom built drive-shaft.
BOLD ITEMS ARE FOR THIS BUILD THREAD (page & post)
Here is a list of things done...
6" ROCKKRAWLER LONG ARM
15X8 SOFT 8's, 33x12.5x15 PROCOMP MT's/TIMBERLINES AT's
Aussie locked 30/35 w/4.10s
Hi-lift jack
Bilstein shocks
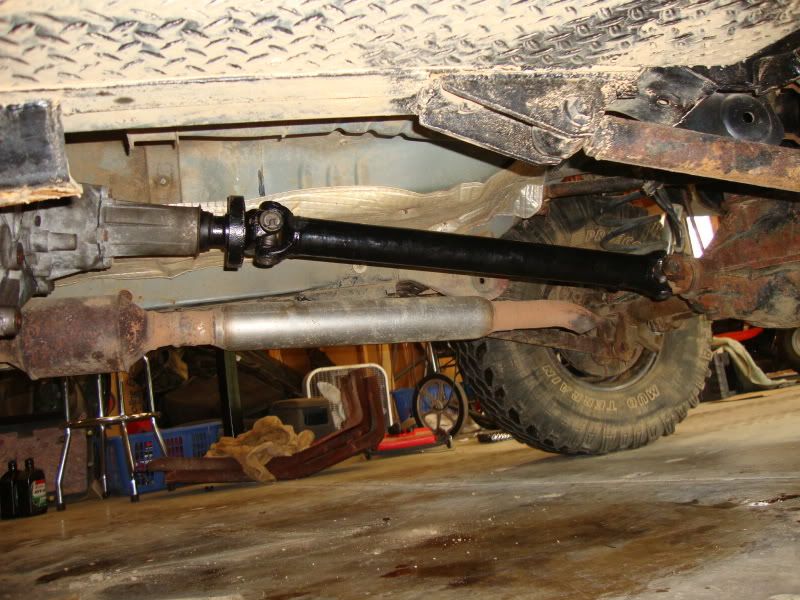
Carolina DBL/DBL front drive shaft..... #page 1 post 7#
home brew rock rails..... #page 1 post 12#
grille guard..... #page 1 post 14#
front/rear hitch
T-Max 12.5k lb winch
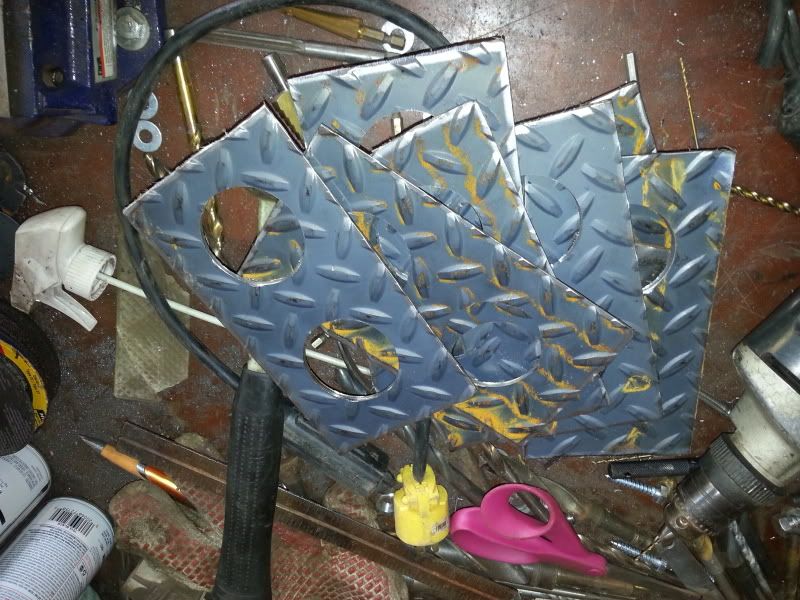
rock lights..... #page 1 post 12#
Meangeen alt
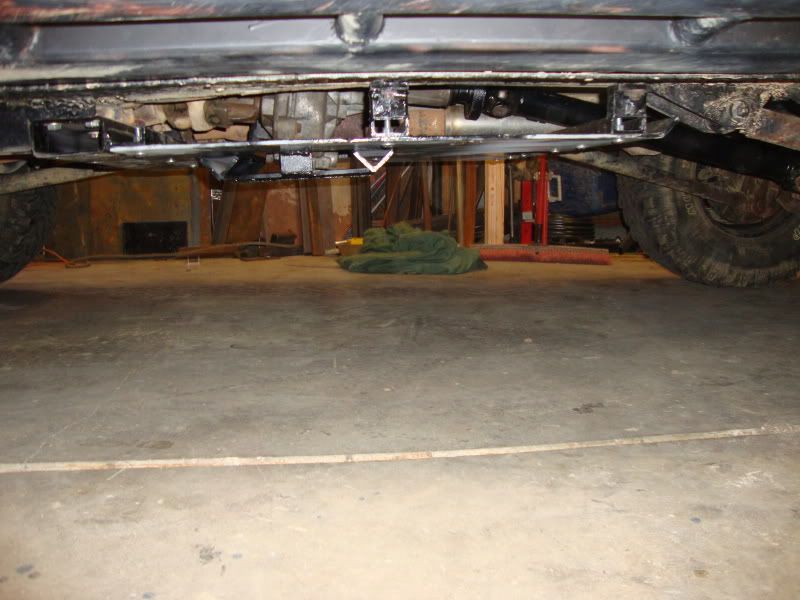
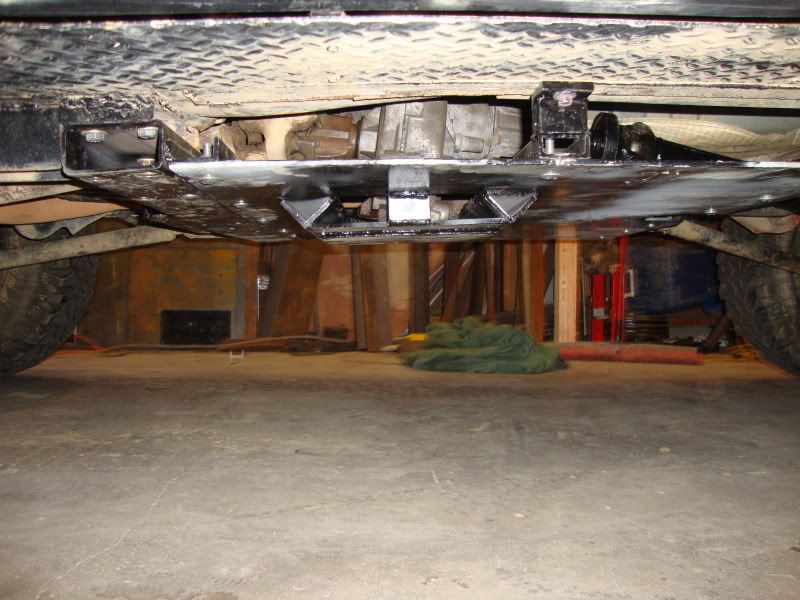
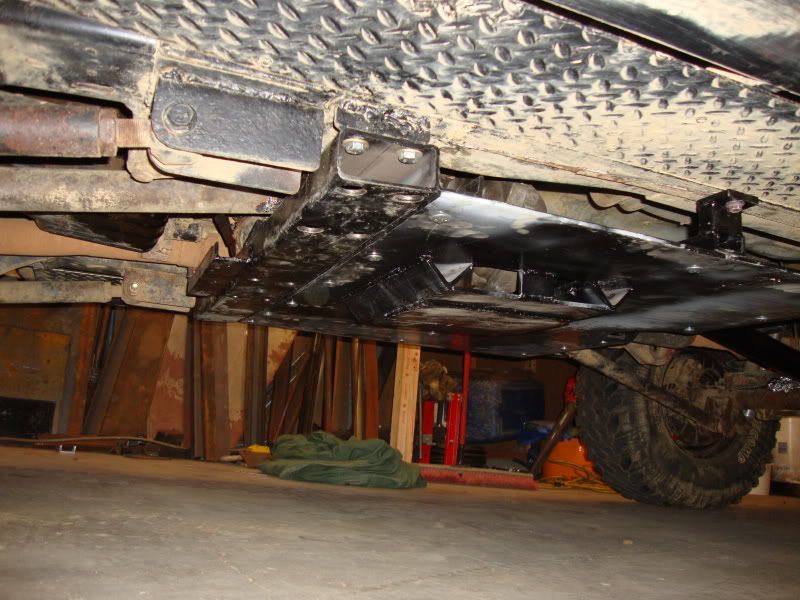
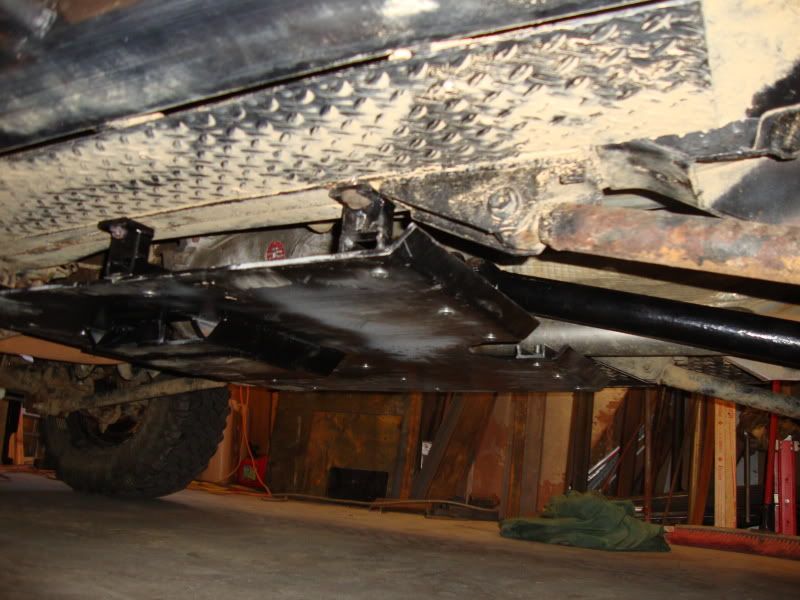
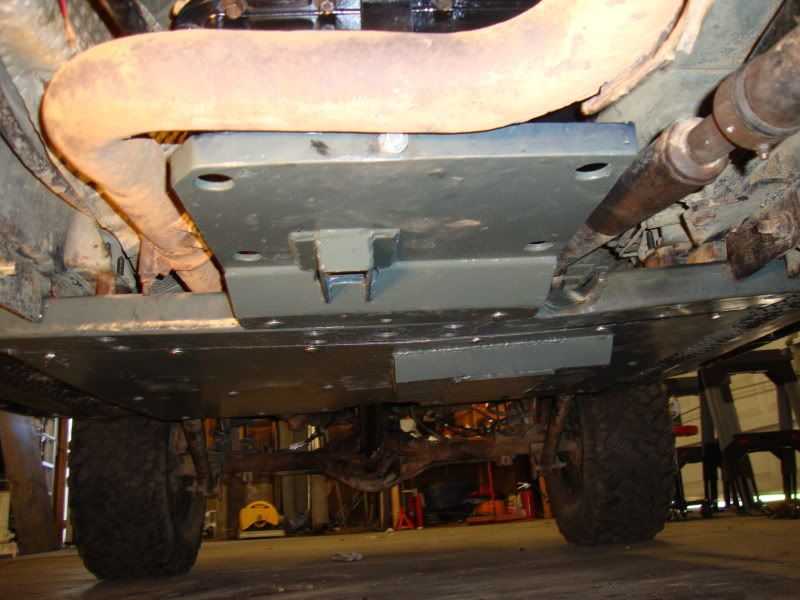
TJ transfer skid..... #page 1 post 13#
elec OBA
Kilby belt driven OBA..... #page 1 post 2#
CB with external speaker
Split rear seats..... #page 1 post 6#
Vinyl doors..... #page 1 post 5#
3AR seats..... #page 1 post 19#
Custom front bumper..... #page 1 post 14#
Power inverter
55W backup lights
half doors #page 1 post 3#
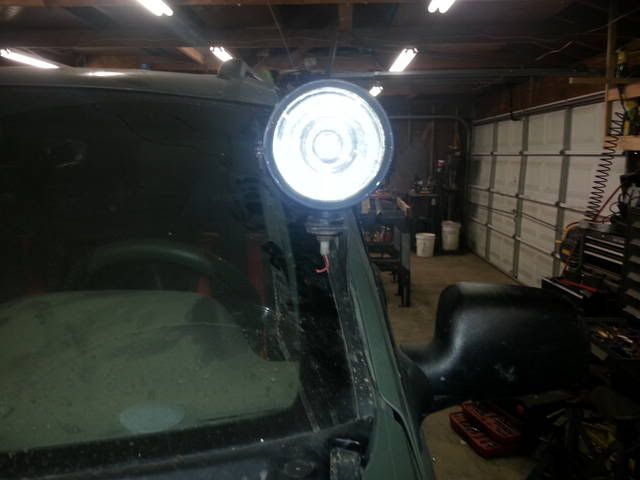
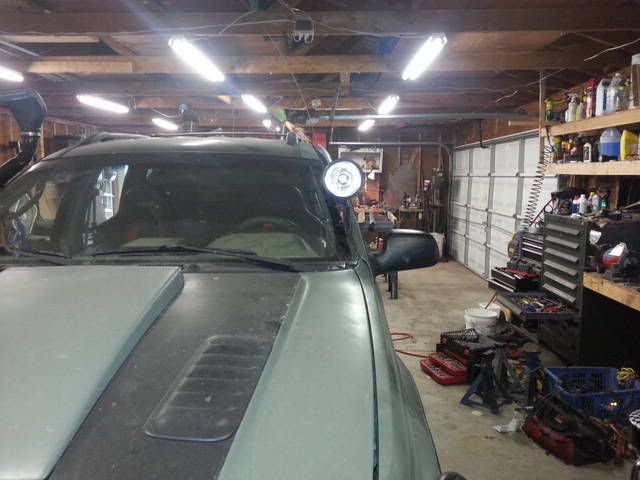
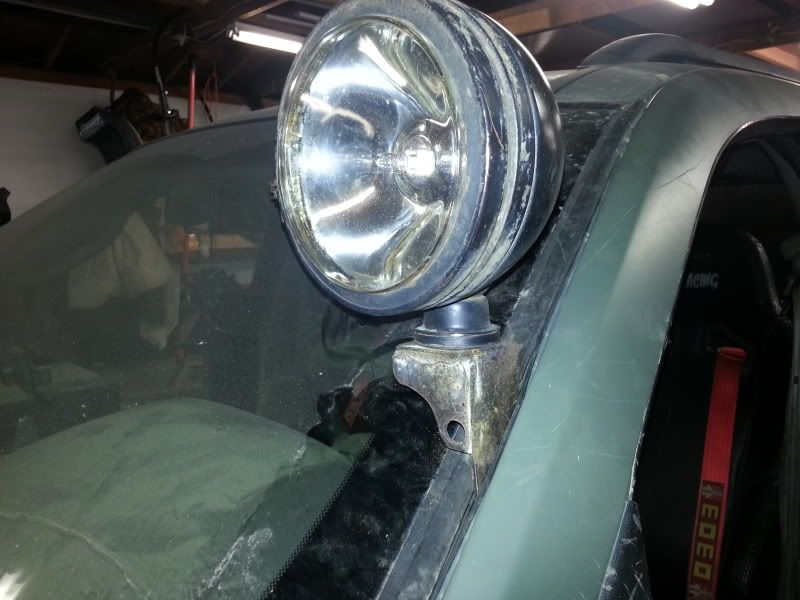
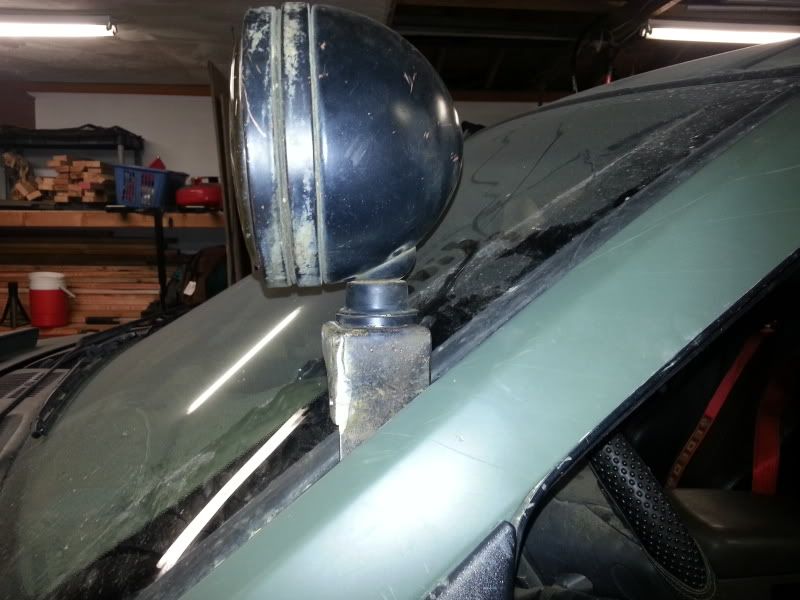
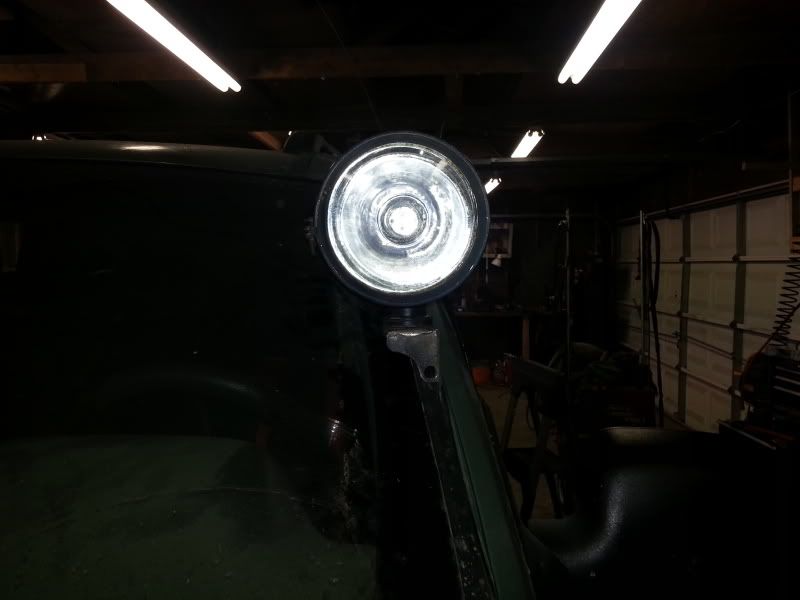
7 6" offroad lights
102" ******* whip antenna
Super Lift Tru-Speed
strobes all 4 corners
Pioneer head with 1200w Pioneer amp and 2 10" Pioneer Subs
Semi air horns with pull cord
Deambered tail lights..... #page 1 post 9#
Quad tail lights..... #page 1 post 8#
Tail light covers..... #page 1 post 9#
Headlight covers
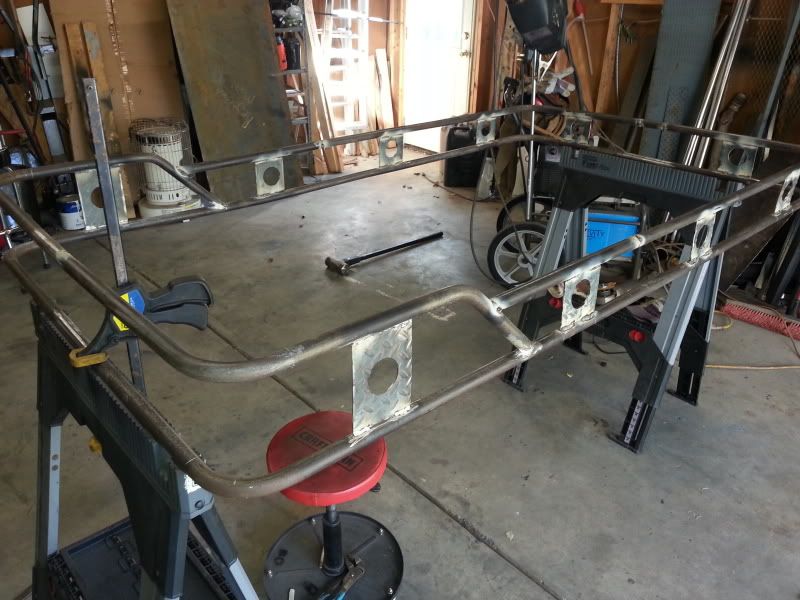
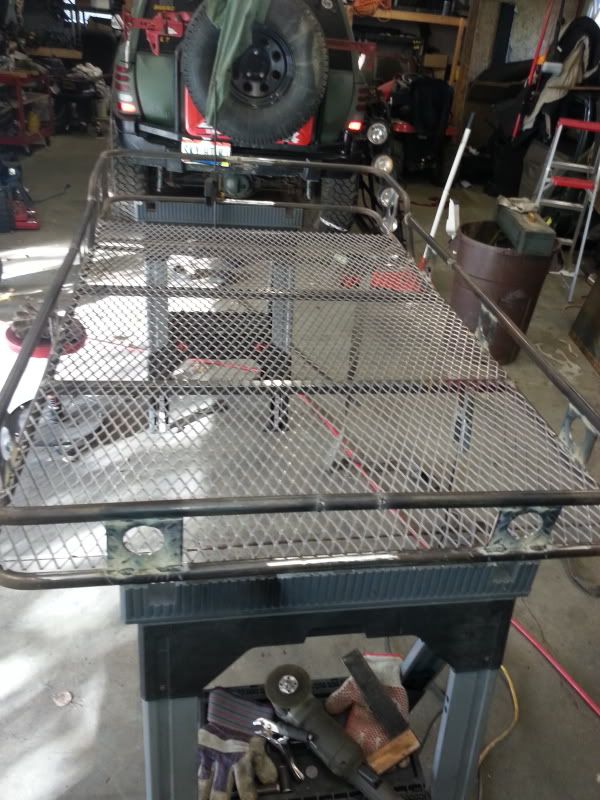
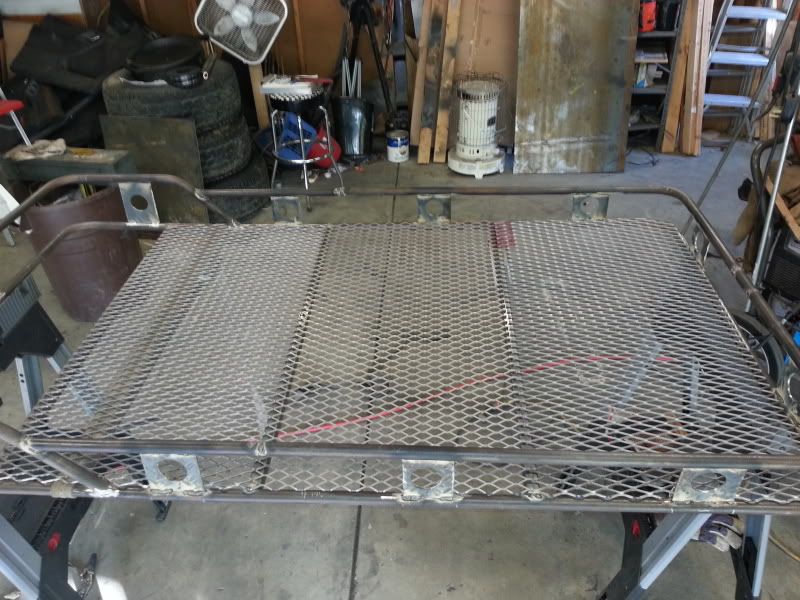
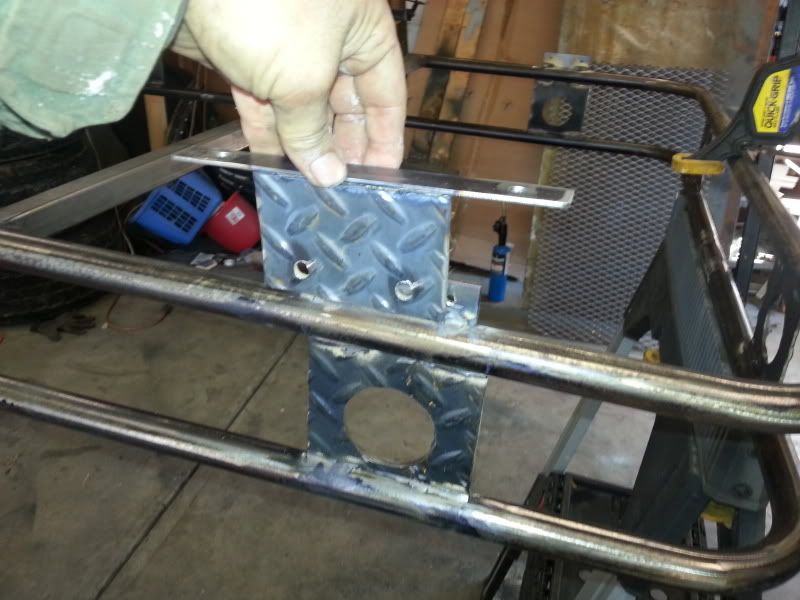
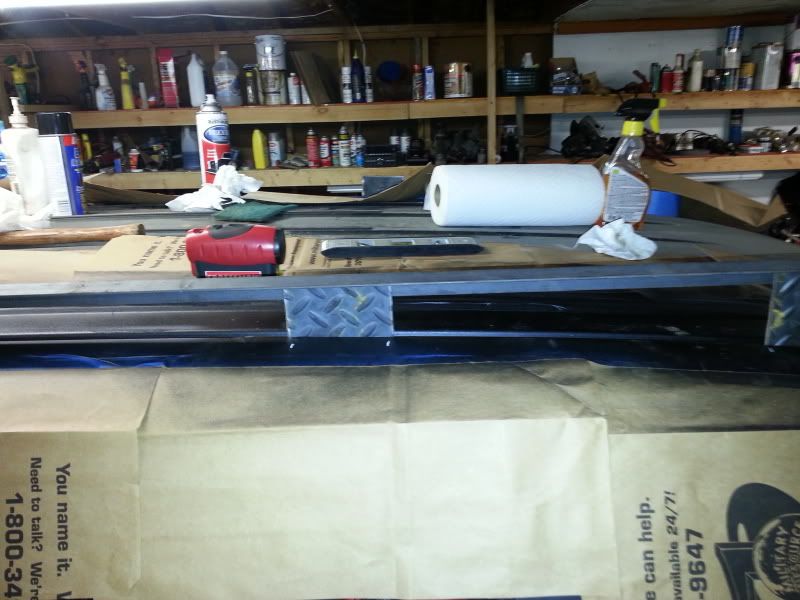
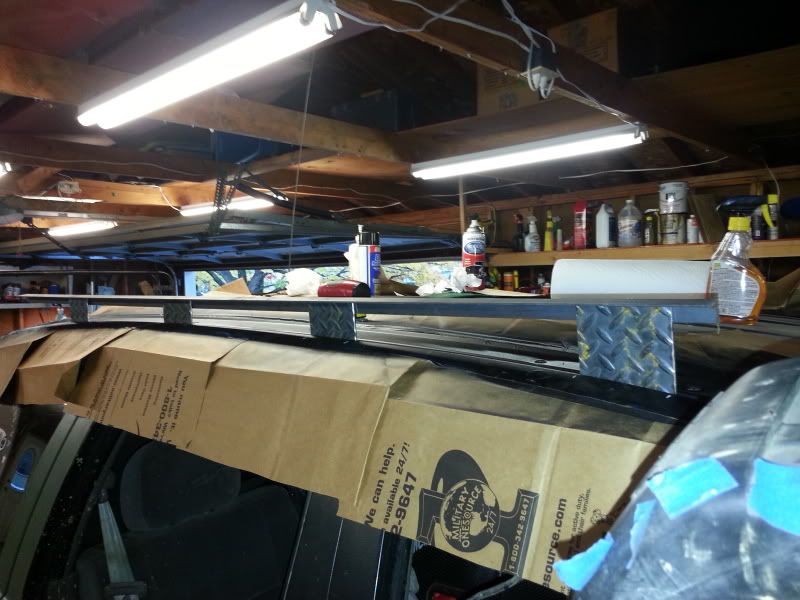
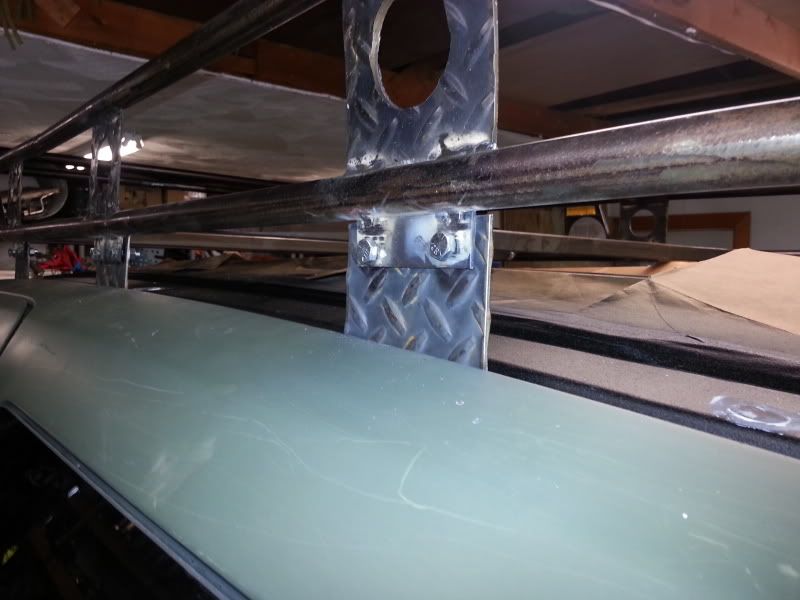
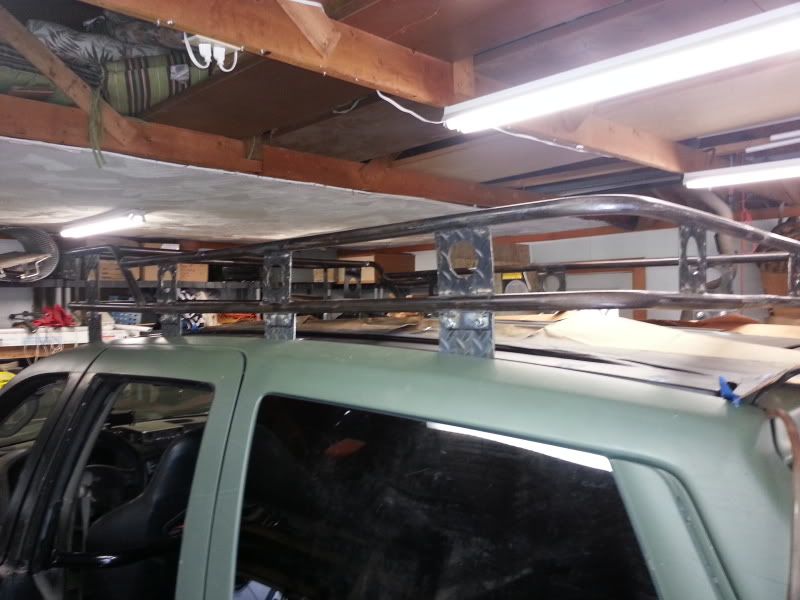
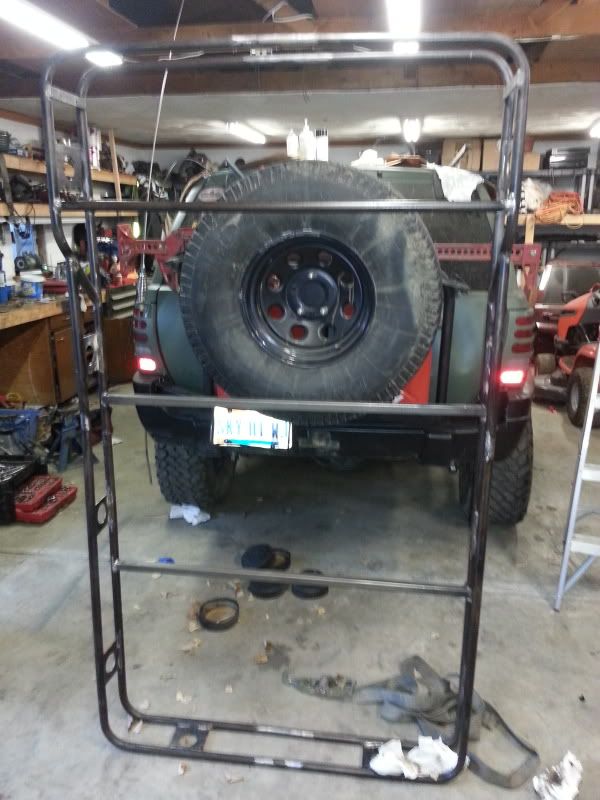
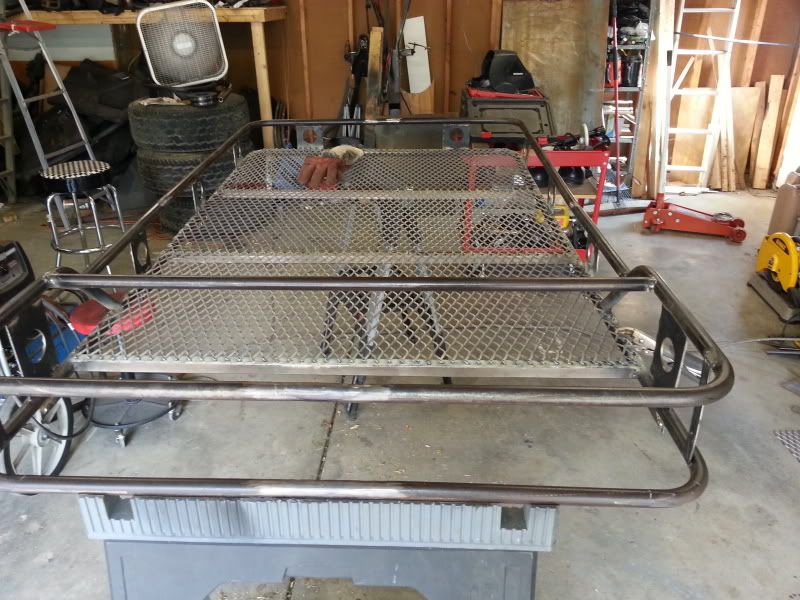
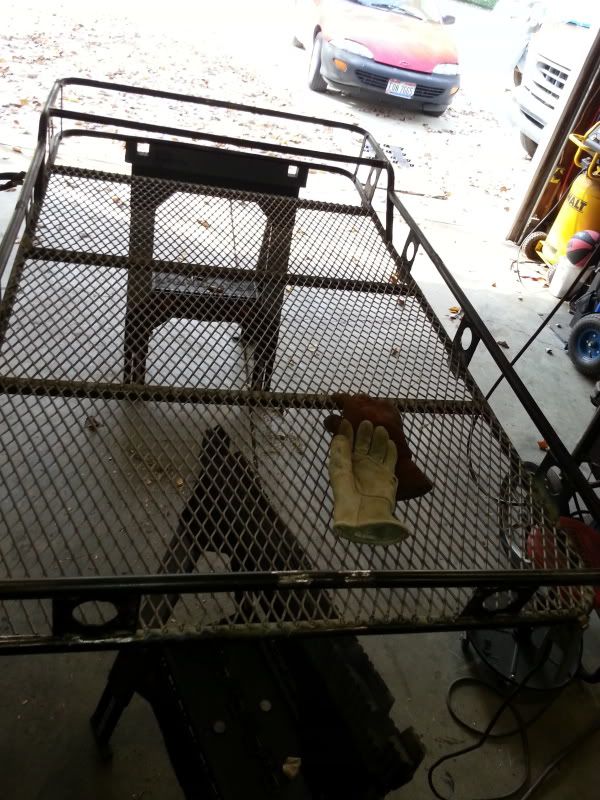
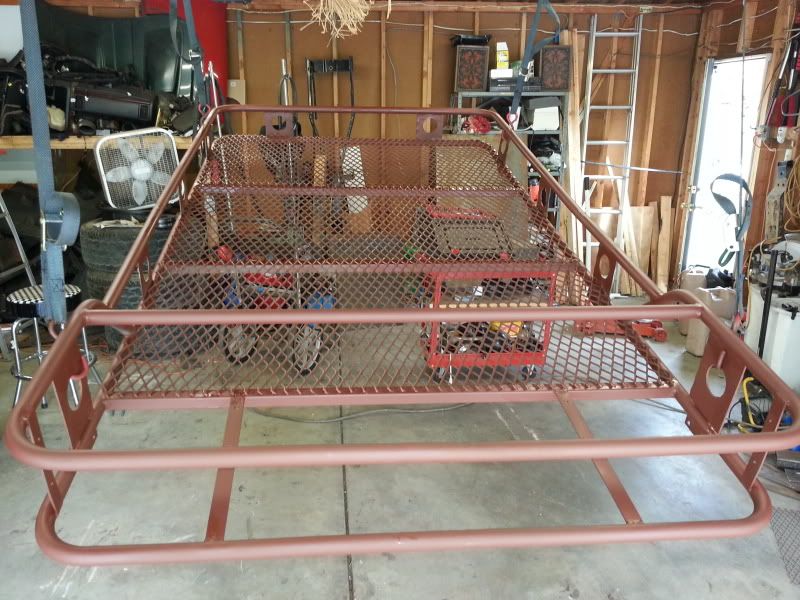
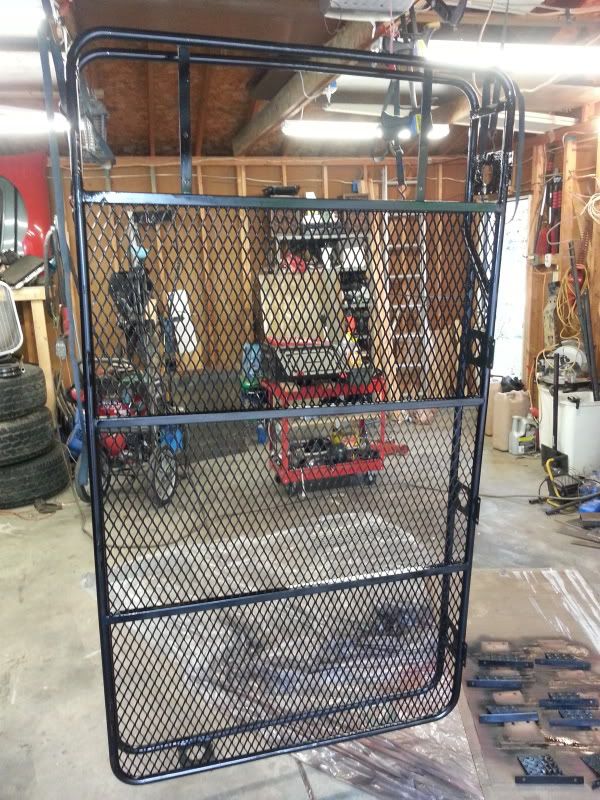
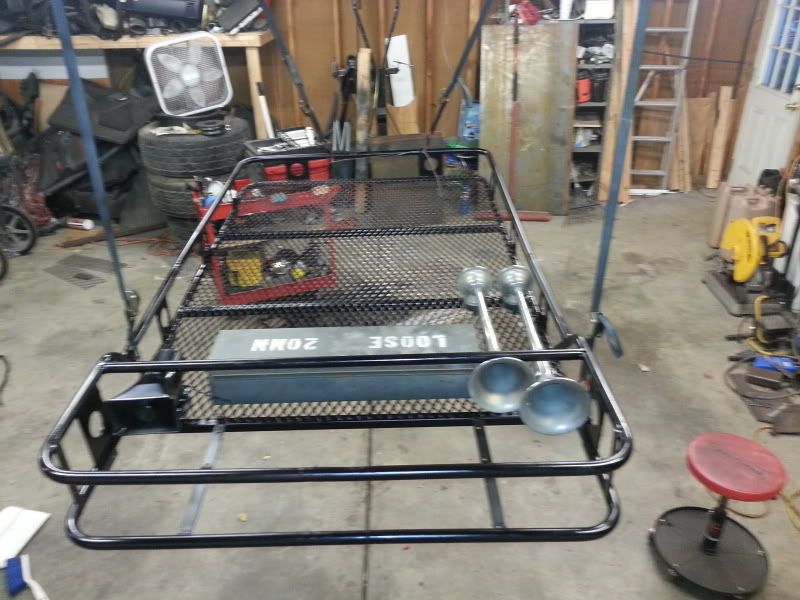
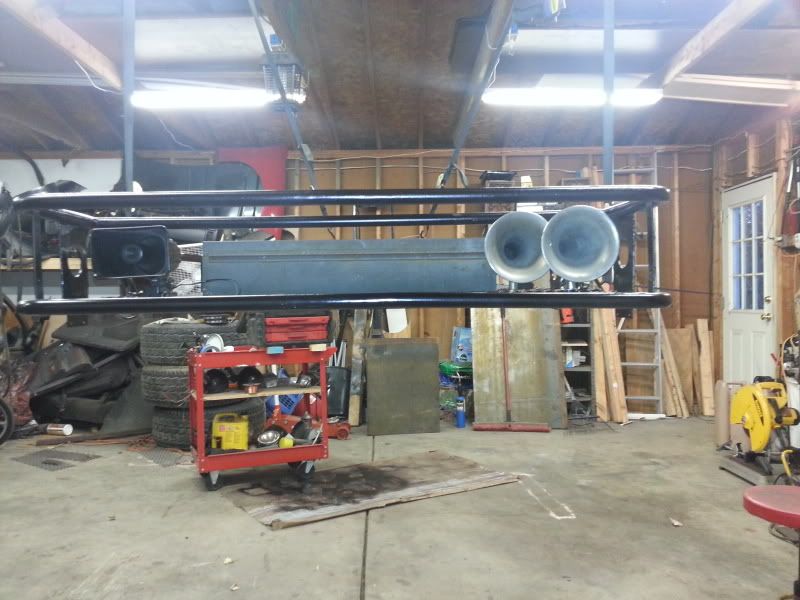
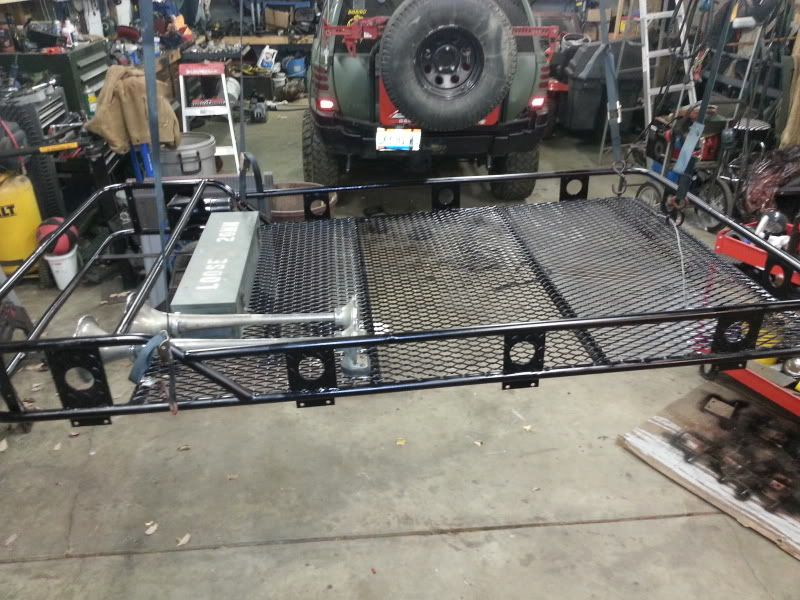
Surco roof rack
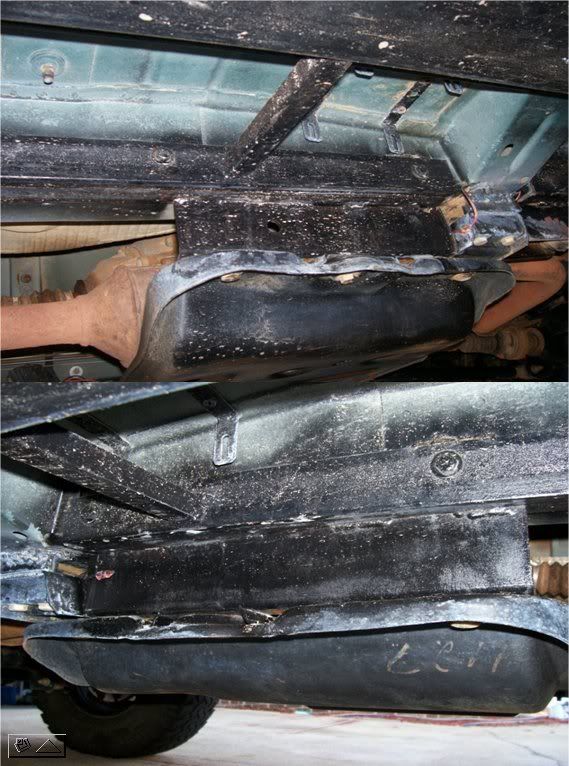
Tank lift
Snorkel
rock rail side extensions
4 point harness and harness bar
front fender trim
Custom front bumper(new sides)
swing tire carrier
Custom hood cowl..... #page 1 post 20#
Custom hood scoops..... #page 1 post 20#
This what I have had for a while. Run it all on my droid phone.
Bluetooth ELM 327 Diagnostics, Inclinometer, Torque vehicle ODB II system monitor
Euro tail lights and Mud flaps Gone for a while now
Things coming up...
35" tires
9" rear with ARB and either 4.56 or 4.88 gears(Have the 9" set up for WJ)
44hp front with ARB and either 4.56 or 4.88 gears
Radiator lift with a XJ 3 core rad and XJ AC condenser(have both already). Will eliminate the bottom rad hoop
Custom rear bumper with
Custom belly skid
PA speaker(have)
Whelen 295HFS5 siren/light control(have). Will use the PA and Radio function and light control for the offroad lights
rear fender trim
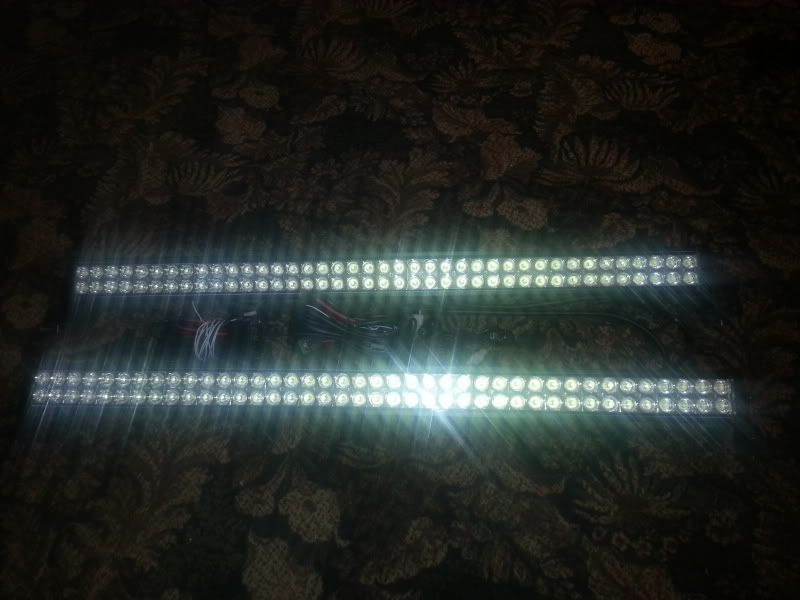
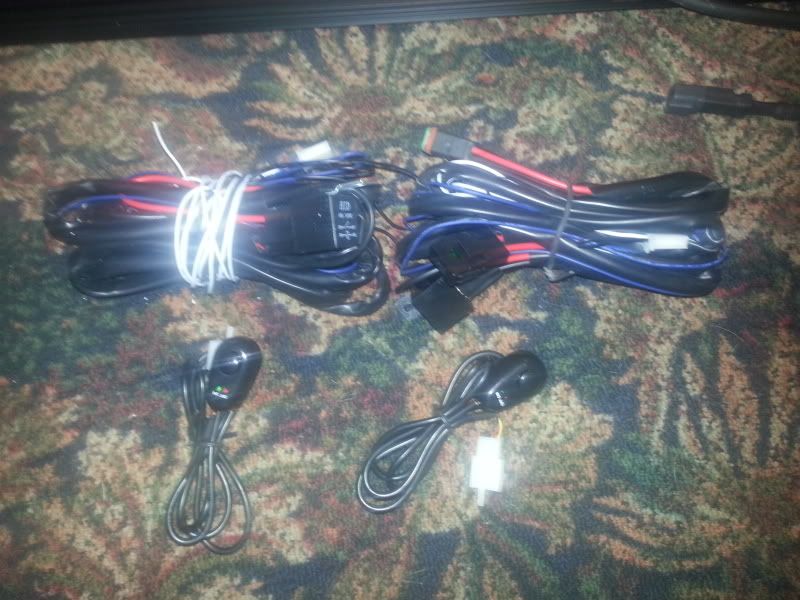
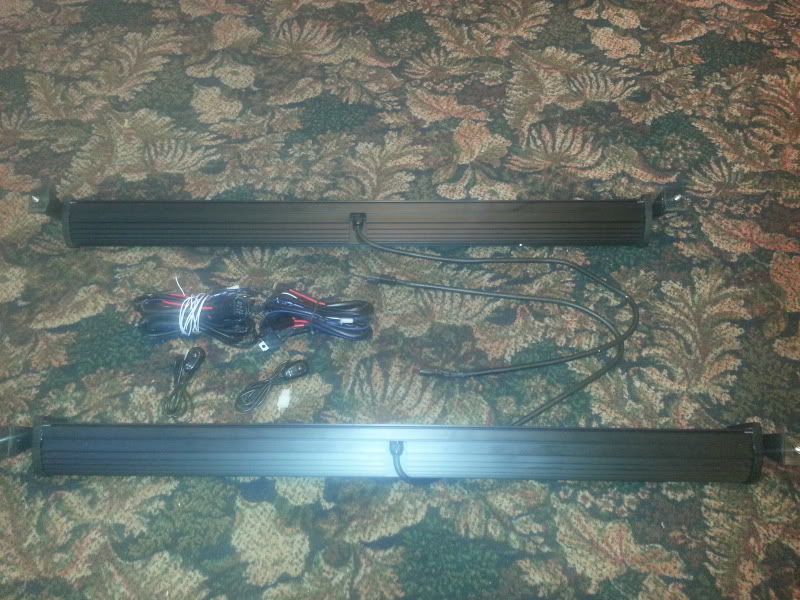
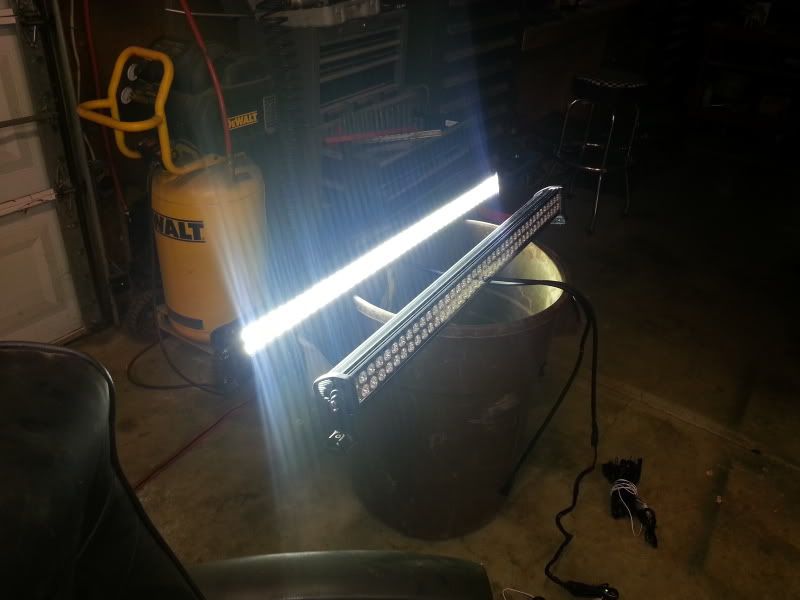
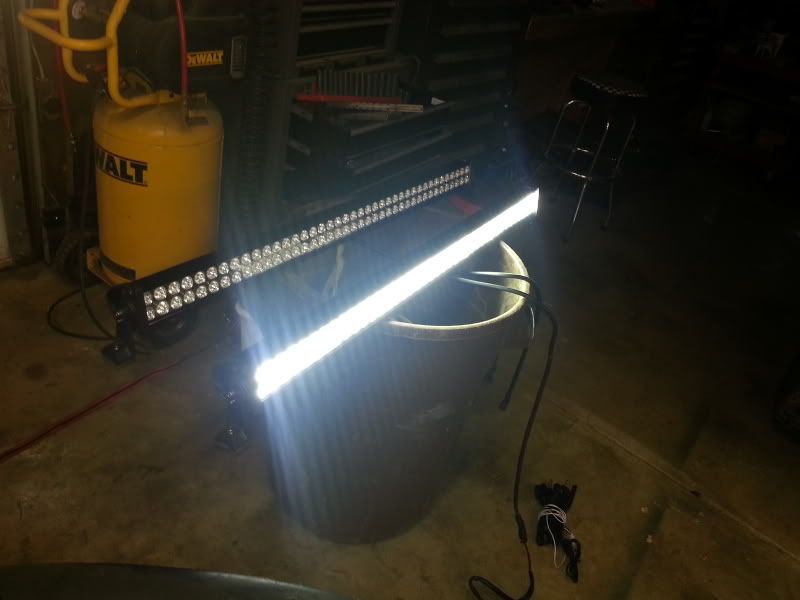
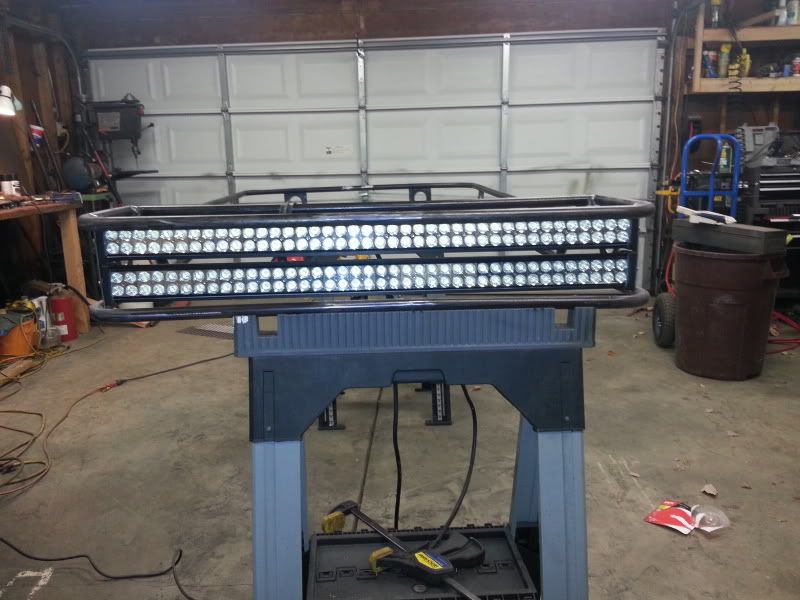
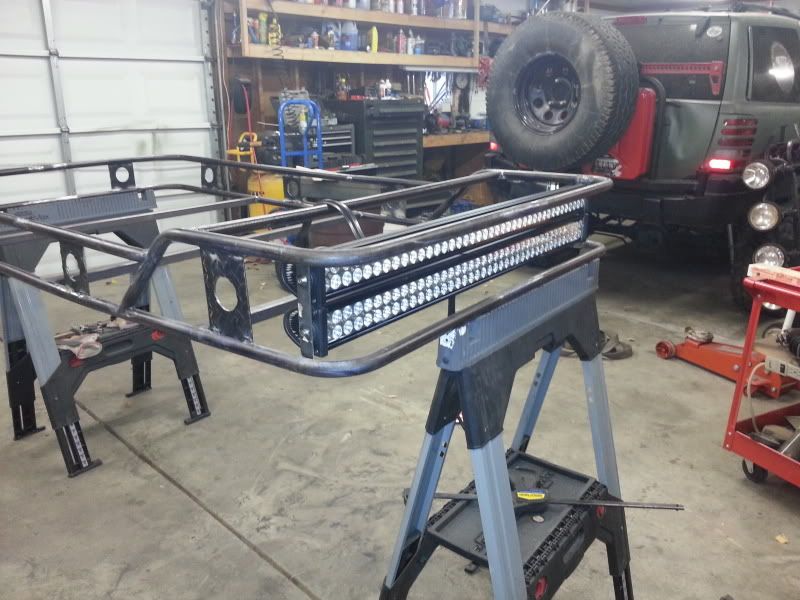
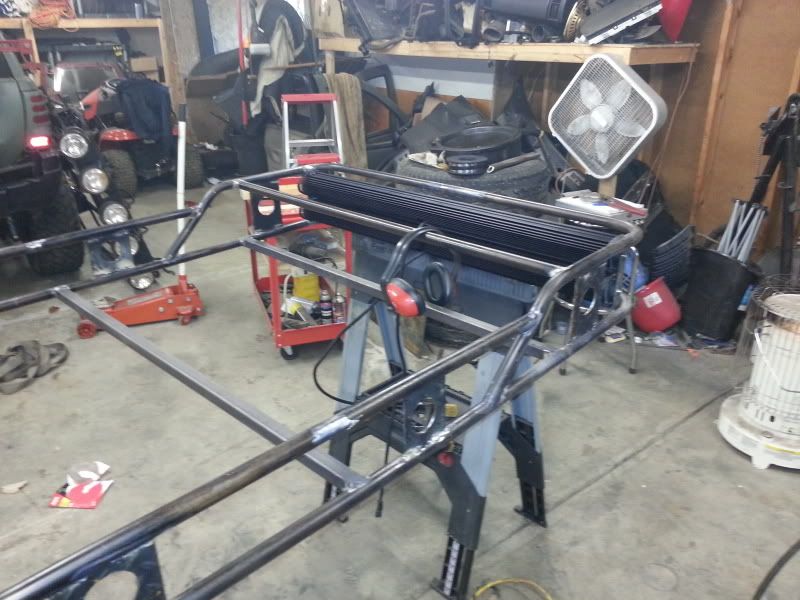
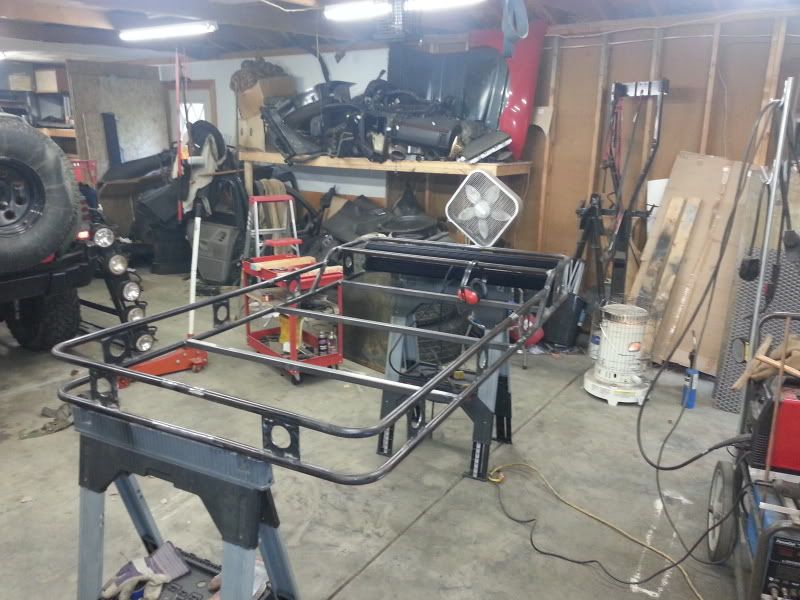
48 LED light bar
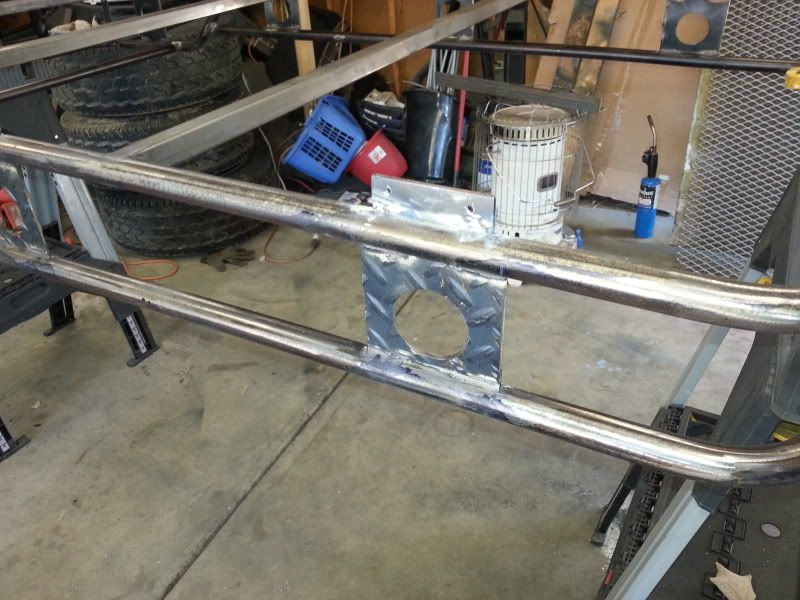
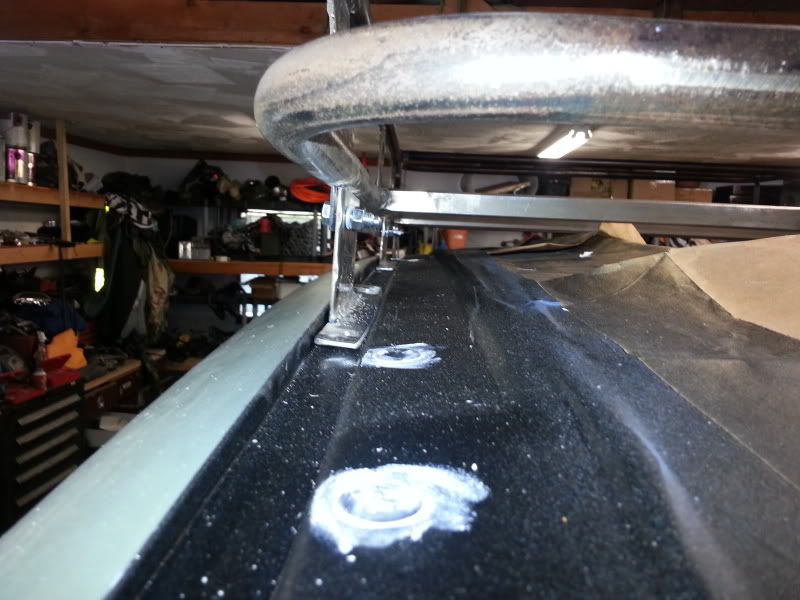
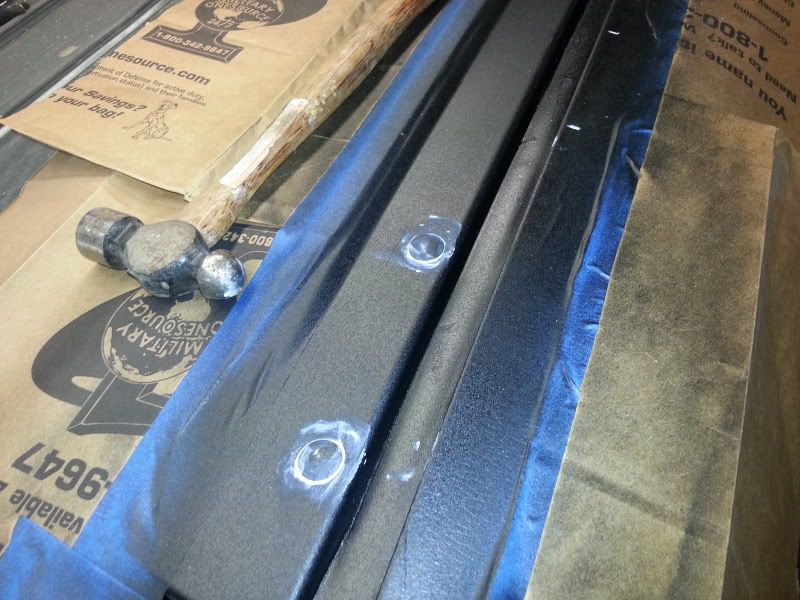
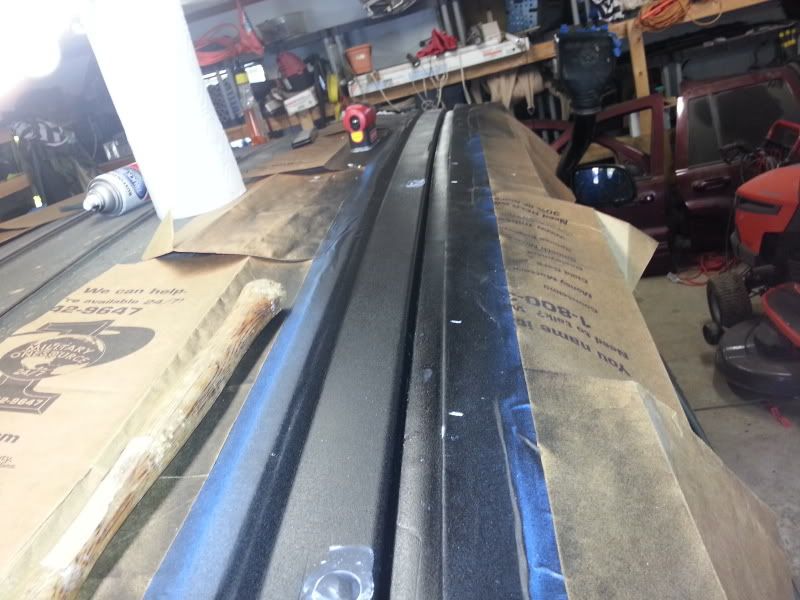
redo roof rack attachment
LED rock lights
Been Jeeping since 1975. Have had CJs, a MJ, XJs, WJs and a WK. Even spent two years in Turkey with my MJ wheeling.
Here is a pic of when my current 01 WJ was stock (on the right).

Here it is now.

Some of the mod are hyper-linked to threads or pics until I get everything on here.
All mods either made, done or put on by me except for a custom built drive-shaft.
BOLD ITEMS ARE FOR THIS BUILD THREAD (page & post)
Here is a list of things done...
6" ROCKKRAWLER LONG ARM
15X8 SOFT 8's, 33x12.5x15 PROCOMP MT's/TIMBERLINES AT's
Aussie locked 30/35 w/4.10s
Hi-lift jack
Bilstein shocks
Carolina DBL/DBL front drive shaft..... #page 1 post 7#
home brew rock rails..... #page 1 post 12#
grille guard..... #page 1 post 14#
front/rear hitch
T-Max 12.5k lb winch
rock lights..... #page 1 post 12#
Meangeen alt
TJ transfer skid..... #page 1 post 13#
elec OBA
Kilby belt driven OBA..... #page 1 post 2#
CB with external speaker
Split rear seats..... #page 1 post 6#
Vinyl doors..... #page 1 post 5#
3AR seats..... #page 1 post 19#
Custom front bumper..... #page 1 post 14#
Power inverter
55W backup lights
half doors #page 1 post 3#
7 6" offroad lights
102" ******* whip antenna
Super Lift Tru-Speed
strobes all 4 corners
Pioneer head with 1200w Pioneer amp and 2 10" Pioneer Subs
Semi air horns with pull cord
Deambered tail lights..... #page 1 post 9#
Quad tail lights..... #page 1 post 8#
Tail light covers..... #page 1 post 9#
Headlight covers
Surco roof rack
Tank lift
Snorkel
rock rail side extensions
4 point harness and harness bar
front fender trim
Custom front bumper(new sides)
swing tire carrier
Custom hood cowl..... #page 1 post 20#
Custom hood scoops..... #page 1 post 20#
This what I have had for a while. Run it all on my droid phone.
Bluetooth ELM 327 Diagnostics, Inclinometer, Torque vehicle ODB II system monitor
Euro tail lights and Mud flaps Gone for a while now
Things coming up...
35" tires
9" rear with ARB and either 4.56 or 4.88 gears(Have the 9" set up for WJ)
44hp front with ARB and either 4.56 or 4.88 gears
Radiator lift with a XJ 3 core rad and XJ AC condenser(have both already). Will eliminate the bottom rad hoop
Custom rear bumper with
Custom belly skid
PA speaker(have)
Whelen 295HFS5 siren/light control(have). Will use the PA and Radio function and light control for the offroad lights
rear fender trim
48 LED light bar
redo roof rack attachment
LED rock lights
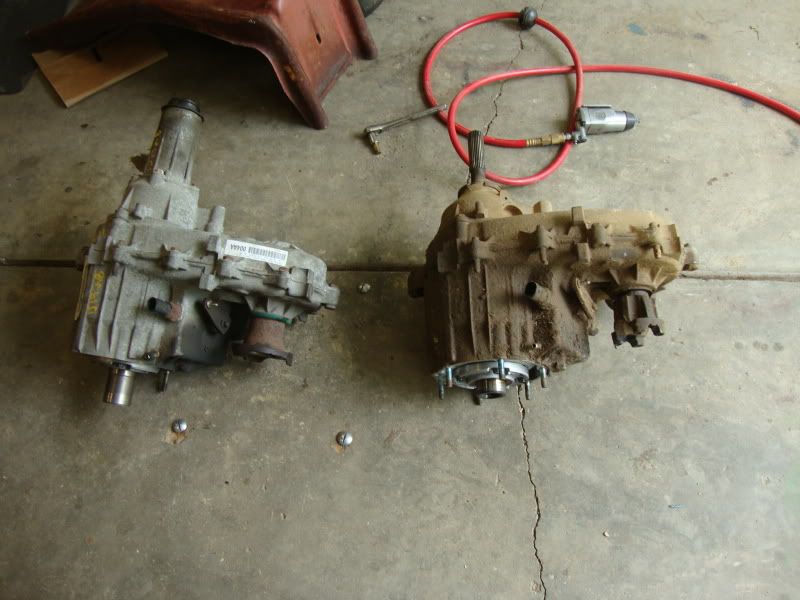
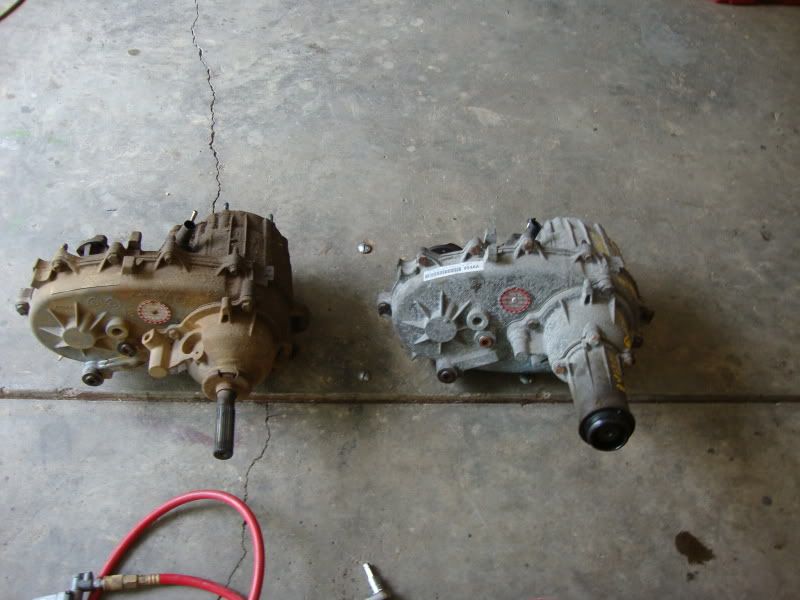
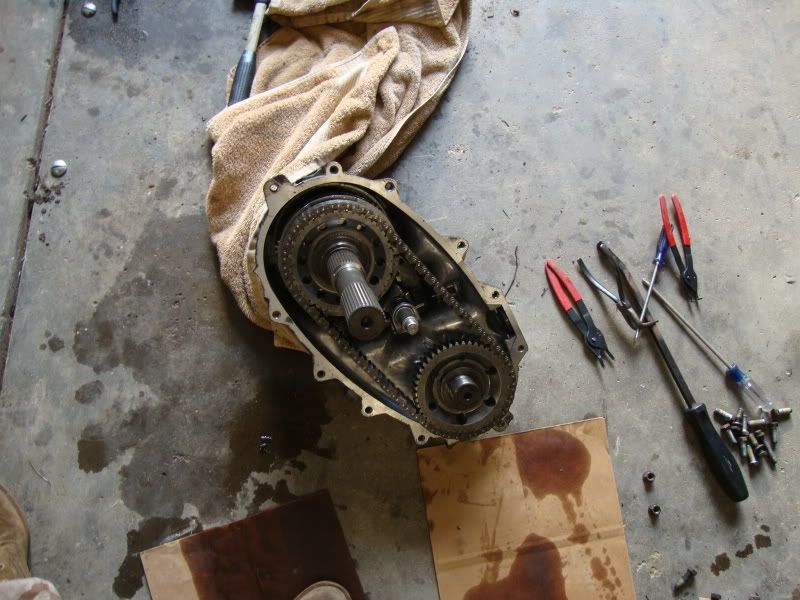
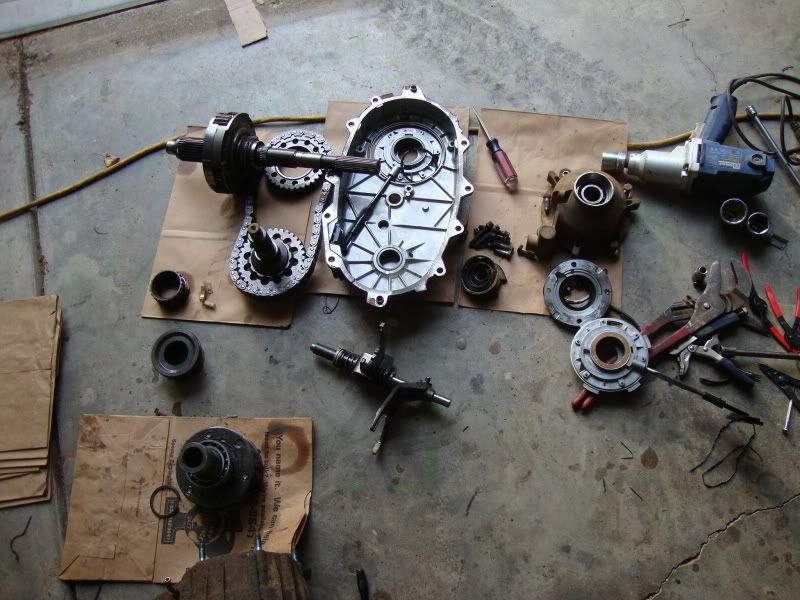
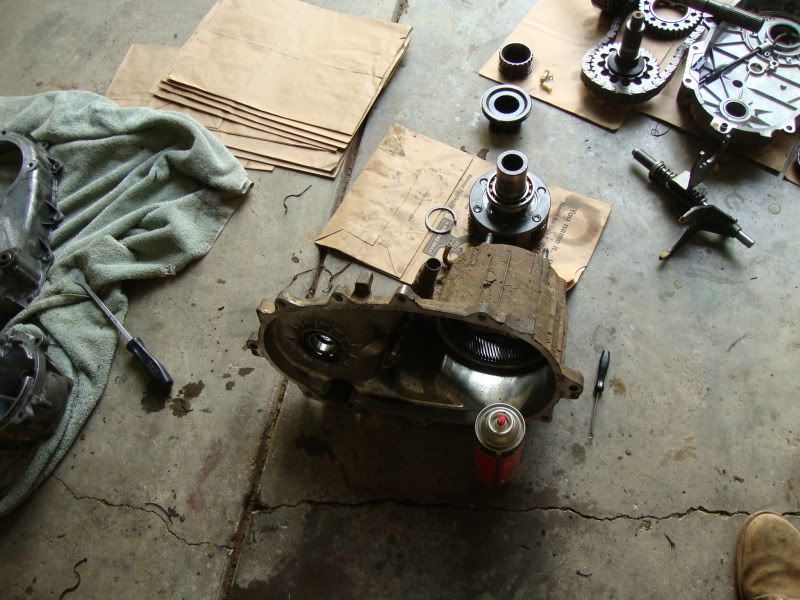
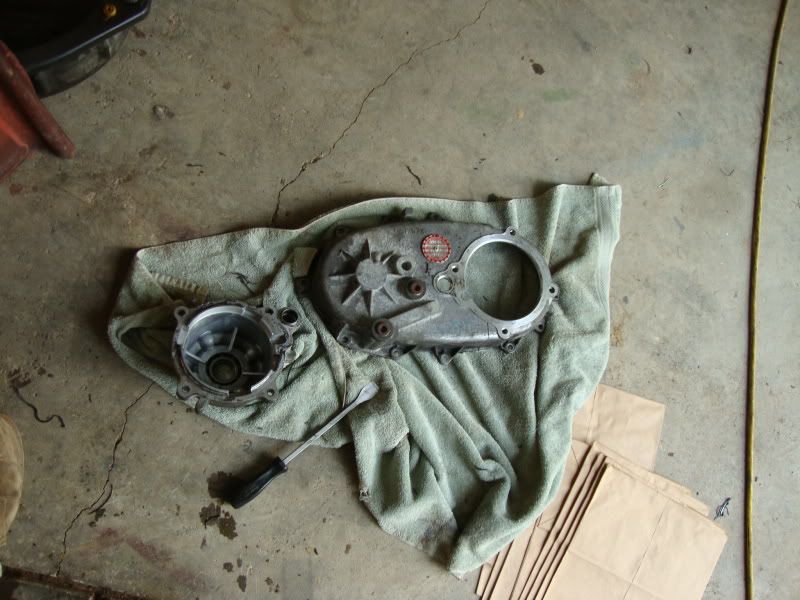
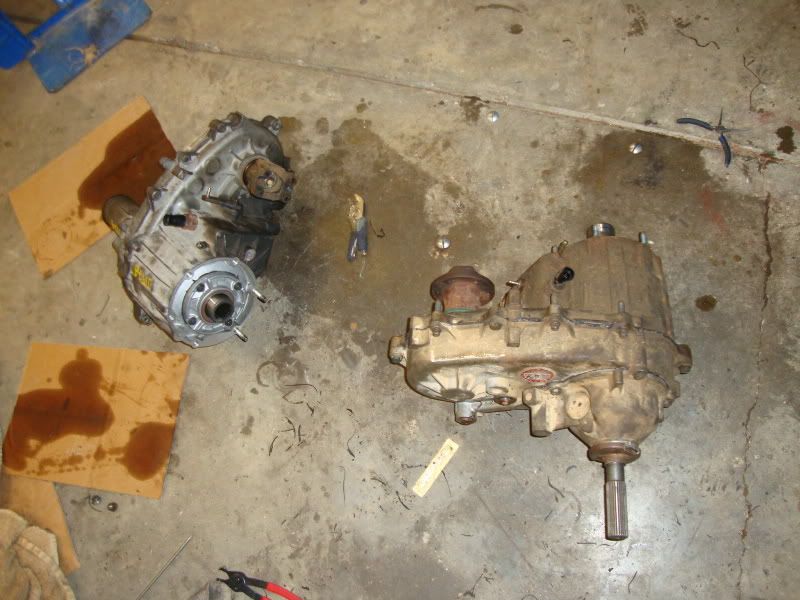
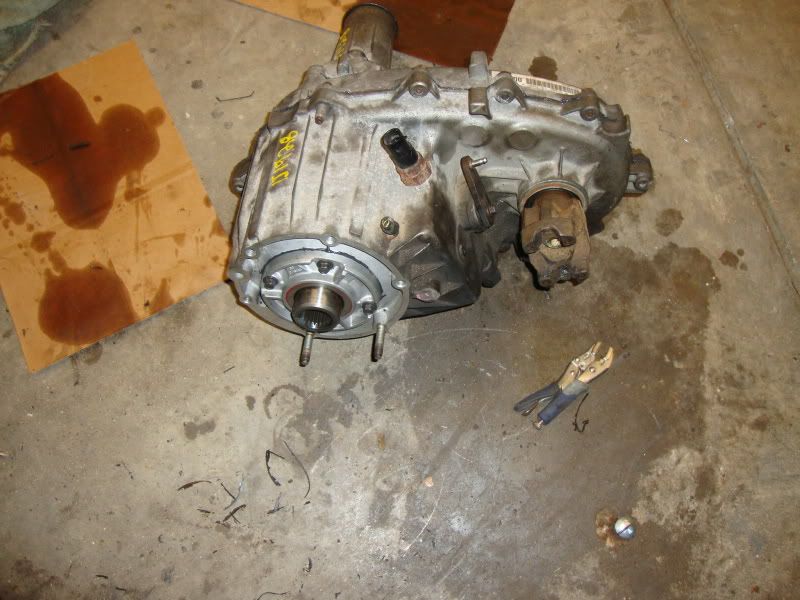
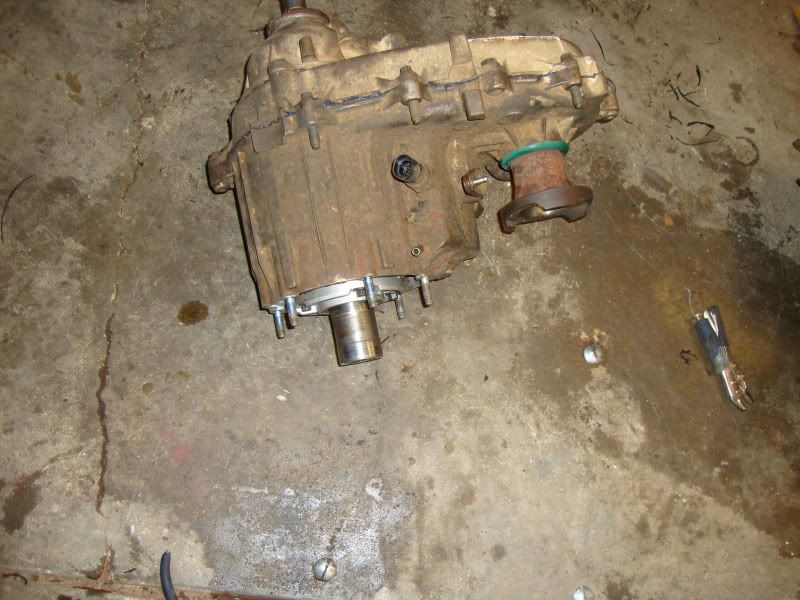
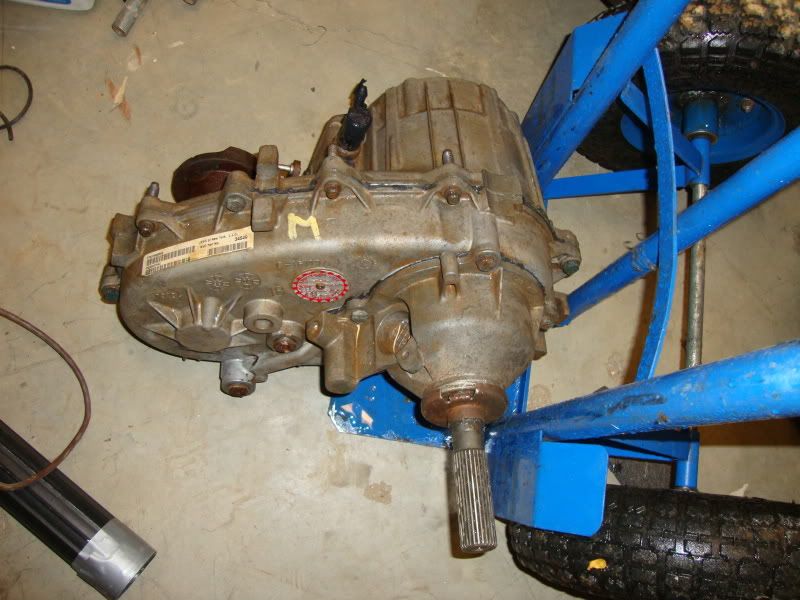
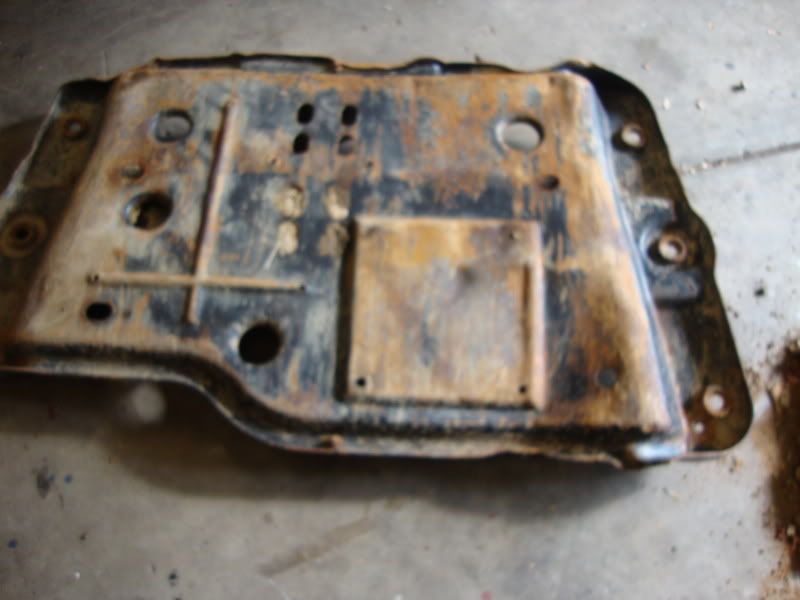
 Had to swap out the input shafts which took about an hour. Everything looked good. Hardly anything on the magnets so that was good.