Jeep Grand Cherokee Forum banner

The Abominable WJ – Project Yeti

2 reading
161K views 509 replies 67 participants last post by  argentums  
#1 · (Edited)
I finally got around to posting some pics of the WJ. Here it is all cleaned up, begging to get muddy.

It is the snow monster, so I call it the Abominable SnowJeep, or Yeti
Yeti is a name for the abominable snowmonster (Nepal/Tibet).

Image


I learned real quick how much I like the MTRs after towing the boat through a 100 yard section of really deep mud. The boat was a mess. After getting a few feet in, I thought I had made a huge mistake.

Image


Time to take a bath and get cleaned up. This is much better than waiting for hours at the boat ramp to put it in and out.

Image


Bear Lake

Image


First time out wheeling it.

Image


I don't dare flex too much, This thing needs some serious trimming before I can discover Moab. 315x75x16's are pretty big tires for the jeep. In front of the rear tire will be OK, but something needs to be done about the rear bumper.

Image


Motivation for visiting friends to lift their Grandy. He is currenlty raising his Gas tank and building a rear bumper. He may end up making many of the parts to do his own long arm kit. You can see the beginnings of the rocksliders he is making. They have been used extensively since he has been running in Moab without a lift.

Image


Not to bad of a cruiser though. I really like the feel of the Long Arm kits. Much smoother than I had anticipated.
 
#351 ·
did a run at 4,000 ft to 6000 ft this last weekend no snow in Sierras! really sucks
 
#352 ·
Yeah, this has been a really dry year and the lack of snow feels weird.
 
#353 ·
The rest of my parts arrive today, Thanks Kolak!

Image


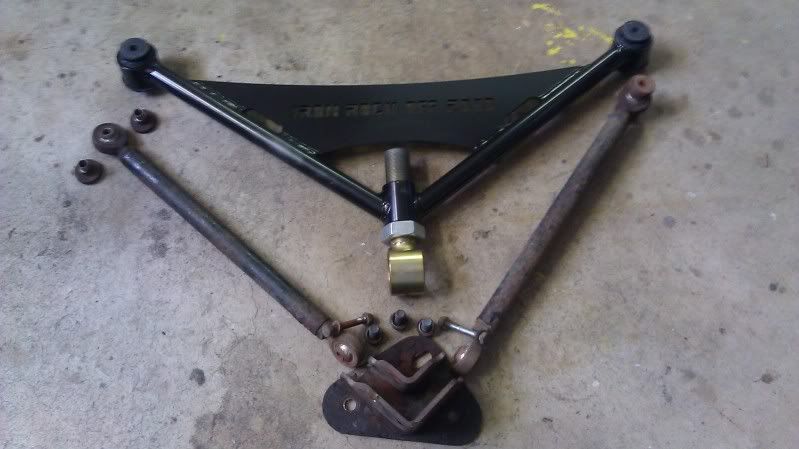
I rebuilt all of the control arms, and installed the IRO upper A-arm in place of the RK arms I had in there. Tomorrow I am going to install a new power booster, all new brake lines, bleed the brakes, and maybe start on replacing the coil spring isolators.

This pic shows a comparison of the arms that came out, and the A-arm that went in.

Image
 
#354 ·
Power booster is in. I was really easy to install. I removed the airbox, and unbolted the abs module and master cylinder and slid them back a little, 4 nuts under the dash, one retainer spring, and it was out. I also loosened the Charcoal canister and moved it out of the way when pulling the booster out, and putting the new one in.

I then ran a new hard line from the ABS module all the way back to the rear, installed a new soft line from that to the axle. I then replaced all of the brakes lines at each corner. Bleeding the brakes was a beast. I went through a ton of fluid. The brakes stop well, but I feel like there is still excessive pedal travel. It is hard to know though as I am comparing pedal travel with how it felt before...a squeaking power booster that was going out. I might try and bleed it a bit more next weekend. Maybe I will try and meet up with a local jeeper to compare how their brakes feel to see what I should be aiming for.

Here is a pic with the booster out:

Image


New Booster from Kolak:

Image


NO MORE SQUEAKING EACH TIME I USE THE BRAKES!!!!
 
#357 ·
It rides really smooth on the road, and is very easy to adjust. I have my pinion dialed right where I want it now. I haven't wheeled with it yet though, but I anticipate it is going to do very well. The rear joint has a enough flex in it to articulate the axle as far as I will need it to go. In fact, I need to lengthen my rear sway bar endlinks a bit so that I have more rear droop. I don't want to wheel without the rear sway, I like the little bit of stability it provides.
 
#358 ·
I installed the new coil spring isolators today. The only ones that were still in decent shape were the front lowers. Other than that, they all needed to be replaced. The pics speak for themselves:

A set of new isolators next to the old ones:
Image


This pic of the front isolator shows where the spring has been pinching it, it is cracking and deteriorating.
Image


No spring compressors needed, just lift from the body and let the axle droop.
Image


Using the air lift to lift from the hitch:
Image


The only snag I ran into: The drivers side rear sway bar bolt broke. I had to remove the endlinks so that the sway bar would let the axle drop even further to release the springs. The bolt I have has tapered threads, I am not sure if this is a factory bolt or if this was supplied with the lift kit. If you know what your WJ has, please let me know. I figured a 27 cent fix would work for a few weeks. I have new bushings for the sway bar endlinks, RK sent them to me for free when I ordered the poly to rebuild my rear joints. I will get to it in the next week or two. Anyways, I didn't have a sleeve that would fit the bushings as I just wanted to use a smaller bolt as needed to go out the end of the sway bar. The bolt hole through the sway bar is smaller than the bushing hole. I'm not sure if I want to drill the sway bar out as there is very little material there as is. Anyways, I stopped at lowes and bought 1 foot of polyethylene for $.27 and used it. I simply cut a section of it, slid it over the bolt, and used the poly as a sleeve. It worked great. It isn;t as strong as a metal sleeve, but it will only be in for a week or two anyways. It was a great fix for a late Saturday night broken bolt.
Image


This shows a grade 8 bolt slid into the poly. After forcing the bolt in, the poly sleeve is the same diameter as the sleeved section of the bolt I broke.
Image
 
#360 ·
It was around $125 IIRC, and well worth it to eliminate the stupid squeaking.
 
#362 ·
No prob.

I installed a new master cylinder today. The brakes feel much more even, it was worth the $60. The pedal still has more travel that I would like, but I don't know that comparing them with the Acura is helping me at all. When I get on the pedal, it stops VERY fast.
 
#363 ·
Nice work Will, dont throw away that old rear link setup , I mite make an offer for it . :)
 
#364 ·
Sorry William, sold it to a local wheeler already.
 
#365 ·
Well thats ok, did you replace your master an booster an all brake lines .
what did that run you .
 
#366 ·
Rear Hard Brake Line (ABS to Rear split) $14
5 Soft Lines (one at each corner and from rear body to rear axle ) $110
Booster $125
Master $60

It stops much better. The Booster and Master were getting weak, but I wanted to change out the rear hard line as it had corrosion, and I thought I might as well change out the 13 year old soft lines while I was at it. With all the wheeling we do, I don't want a brake line to fail :)
 
#367 ·
Thanks Will'' . Yep the same with mine . Are you for Hire '' :D
 
#368 ·
Sure, but the transport cost might be a bit out of reach for you :)

I bought everything through Kolak, except for the hard line. I was already ordering the isolators from him, so I just had him send everything else. He was great to work with.
 
#369 ·
Yea , Kolak is a great helper when needing parts for the Jeep, this week is a bad week for me becouse Iam going to King of the Hammers tomarrow and spending 4days there so I'll be in the mist of all the great rock crawlers, lucky Me ha ! . maybe I'll get a good deal on some new tires, nothing but BFGs Man, there the best . Some day I'll have to get to Kolak , and order some more good parts, lots of stuff is just plan warn out .
 
#370 ·
Take pics again and post them up!

The jeep recieved some love today, I decided to take the day off and relax.

Fixed the coolant leak, it was coming from my thermostat housing...It is really weird to me that the housing is on the bottom of the 4.7 under the lower radiator hose, so different from every other engine I have worked on. I could have just changed the gasket, but decided I might as well change the thermostat as well while I was in there. And while I was in that deep and had to replace the coolant, I decided to change the lower radiator hose.

Thermostat and gasket $22
Lower Radiator hose $19
Worm drive clamps $2.50
Coolant $30
Distilled Water $3
Serpentine belt was starting to look a bit ugly, So I installed a new one. $36

I also re-soldered the rock light LED that was flickering, it is good to go now.
Finally, I adjusted the length of the bar from my steering box to wheel. Now my steering wheel is perfectly centered.
 
#371 · (Edited)
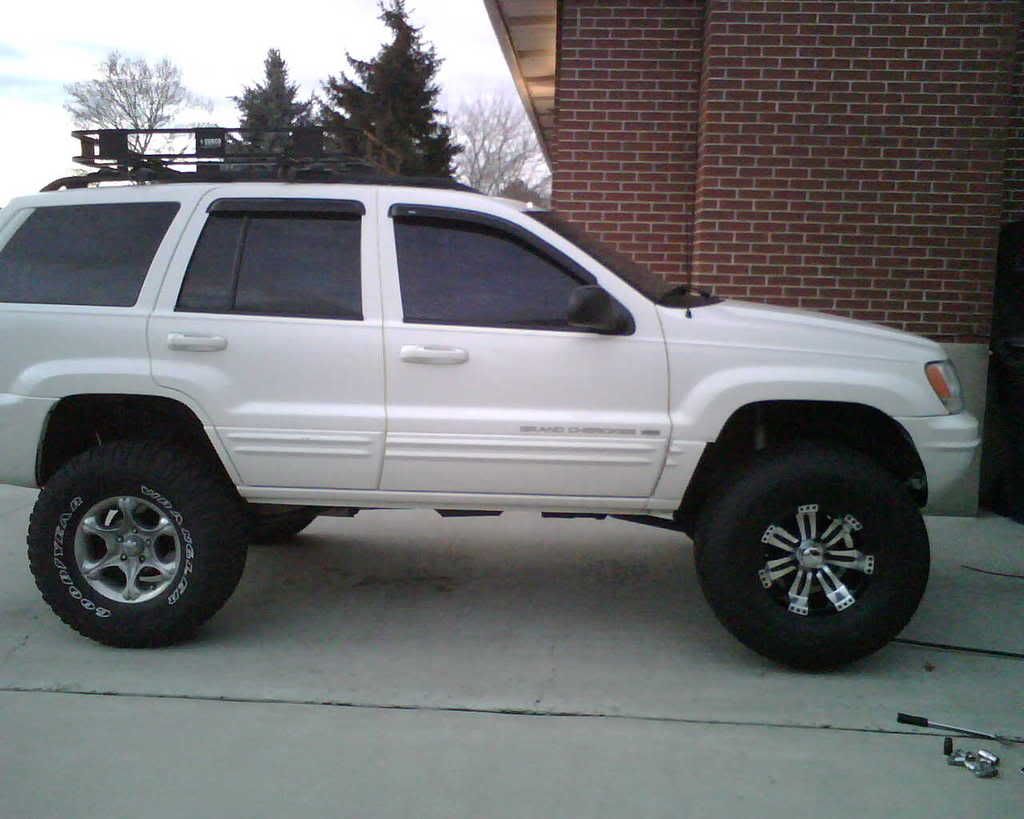
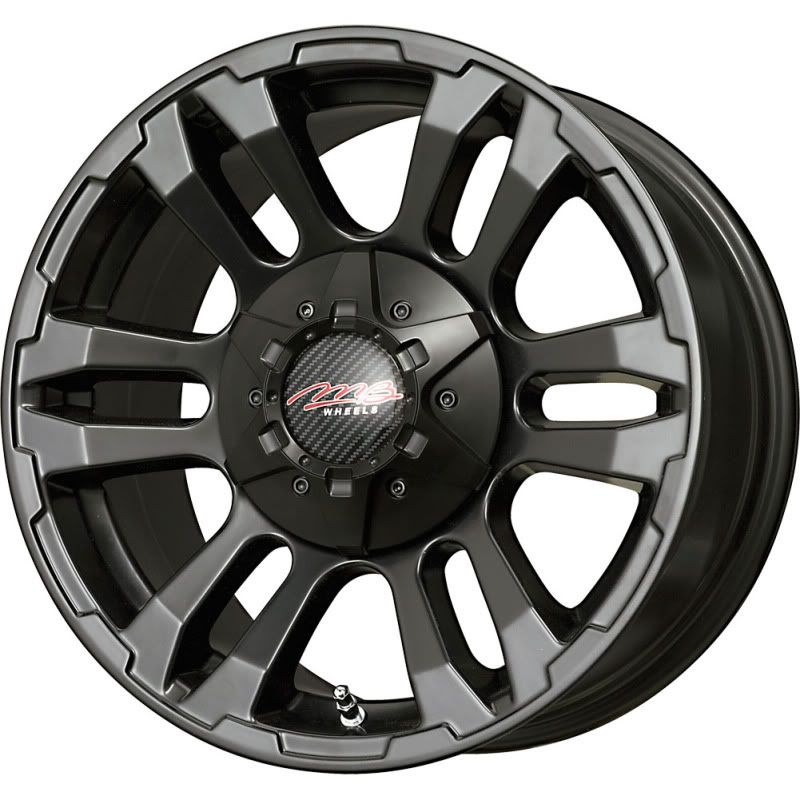
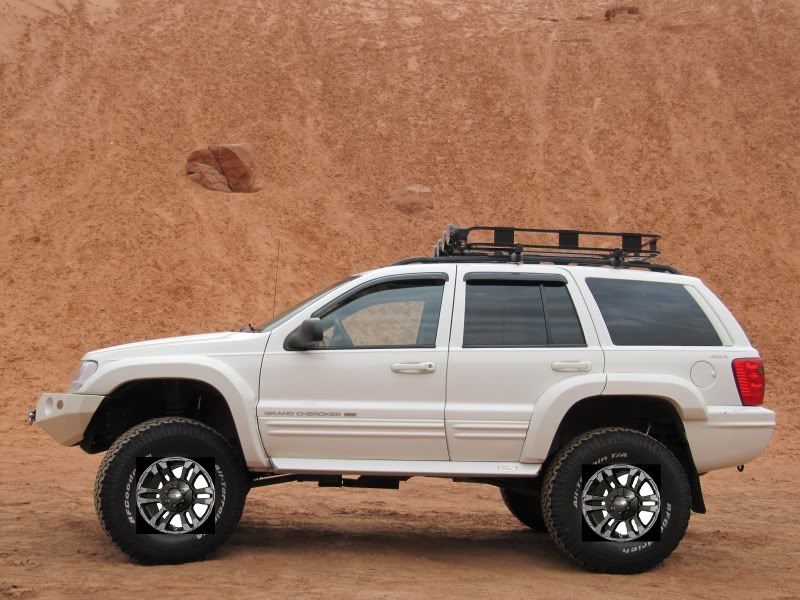
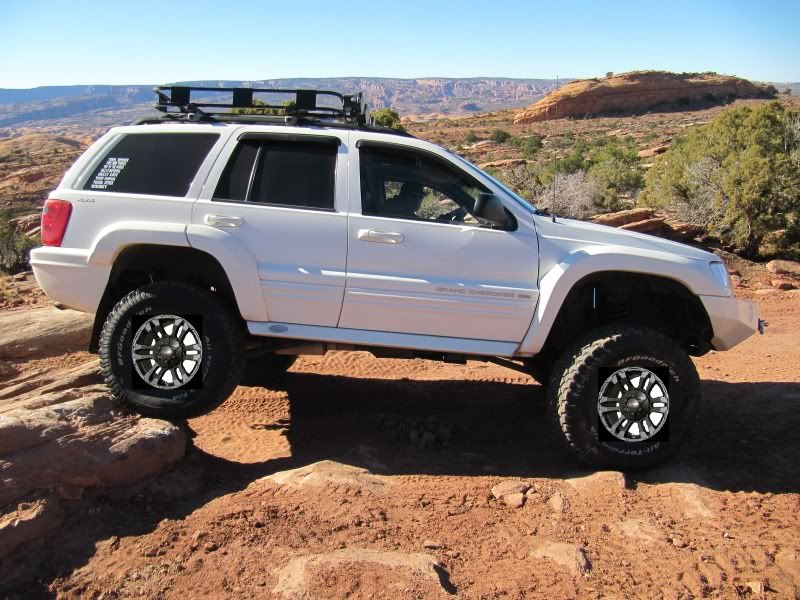
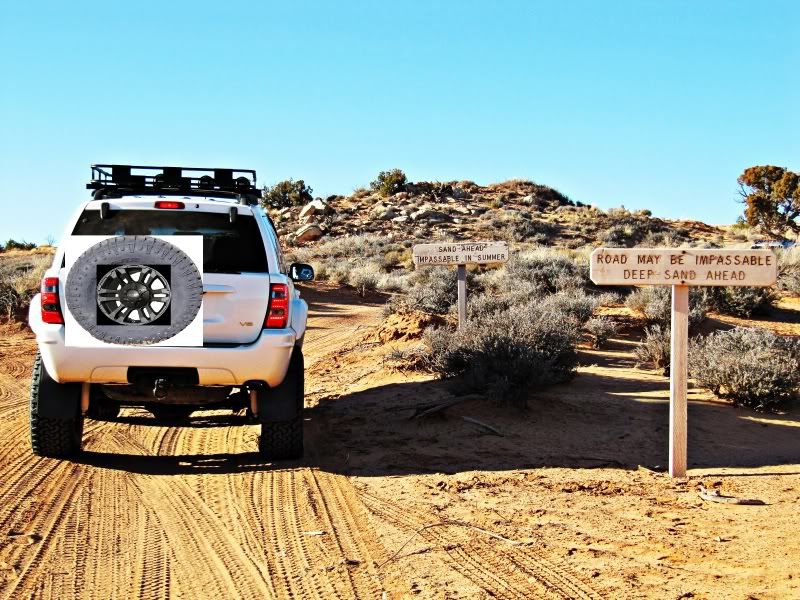
I haven't been able to find a matching wheel for my Jeep. As I would like to get a rear tire carrier bumper, I want matching wheels.

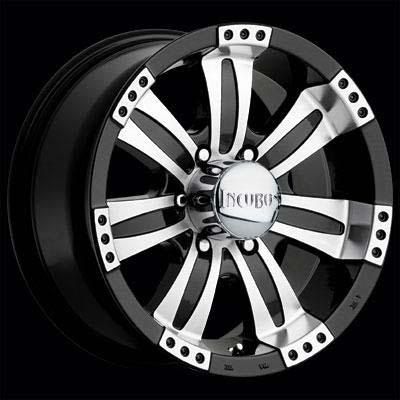
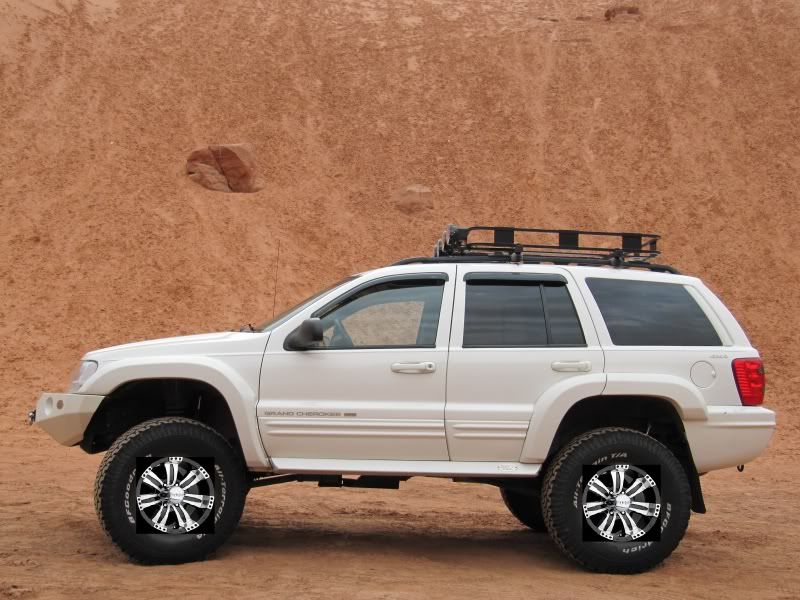
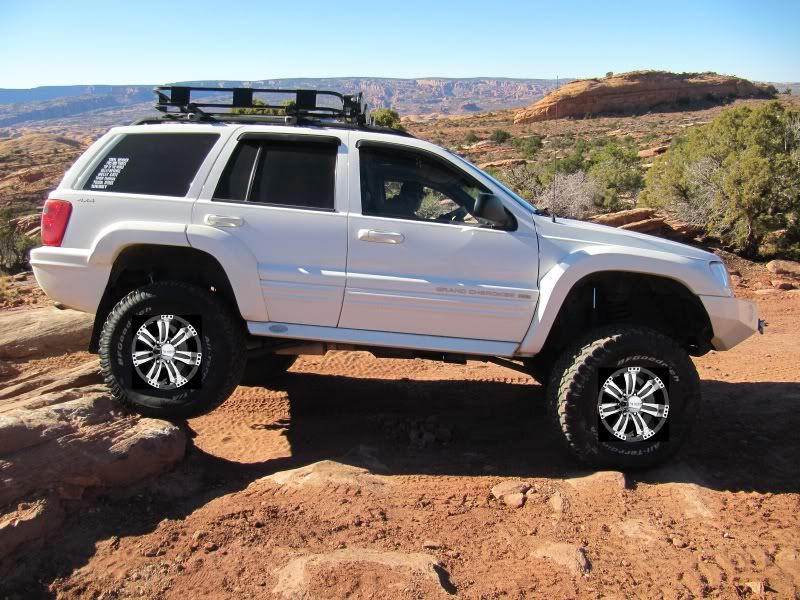
My current spare is an Incubus Poltergeist. So I am debating on buying four more of those, or just buying 5 new wheels. Here are the two I am interested in, along with a very quick image edit...which wheel do you like more?

Incubus:
Image

Image

Image


Here is my spare mounted...
Image


MB:
Image

Image

Image

Image
 
#374 · (Edited)
Well, I replaced the radiator again today...Good thing for lifetime warranty parts I guess. I was surprised it was 3 years old, It seems like I replaced it just last spring :haha:

Anyways...
Remove licence plate and fairlead, remove d-rings and d-ring mounts, remove bumper, remove grill, remove header panel, remove lights, remove hood latch, remove upper radiator/core support, remove 4 bolts on the mechanical fan and push the blades back against the engine, drain coolant, remove radiator hoses and use radiator cap to plug lower radiator hose to stop the slow drips of coolant (I just stuffed it in the hose), remove trans cooler lines, pull up on the AC unit to disco it from the radiator, remove the radiator with the PS cooler and electric fan still attached (just slide them out gently and leave the AC unit in place, remove the trans cooler lines from the radiator, remove fan shroud and electric fan from the radiator and swap those parts over. Reverse to install.

The sad thing is that I just replaced the t-stat a few weeks ago. I guess the coolant is nearly new now, almost a 100% flush now that I replaced it again today.

Image

Image


Coolant is filled back up and the Jeep is no longer leaking!
 
#376 ·
No kidding! Now that I have done this job twice, it would be easy the next time...haha. Time to start saving $ for the next round of upgrades.